As a husband-and-wife wedding photography team, the content of our photos is mainly determined by our couples and their choices of decor, attire, and styling. But last winter, as Annie and I prepared to welcome our first child into our family, we had some time to have a little fun and get creative with a maternity shoot. Annie got to sit back and relax instead of being behind the lens, and I got to photograph my favorite model during our maternity milk bath photoshoot!
In this article, I’ll explain exactly what you need to do to create your own beautiful milk bath maternity photos.
1. The Setting
First, of course, you’ll need a bathtub. Choosing one near a large window that’ll let in lots of natural light is best. You can also try bouncing a flash against a large white wall or curtain, but yellow bathroom lights are best avoided. A nearby hotel room is a good option if you don’t have easy access to a suitable bathtub.
2. The Flowers
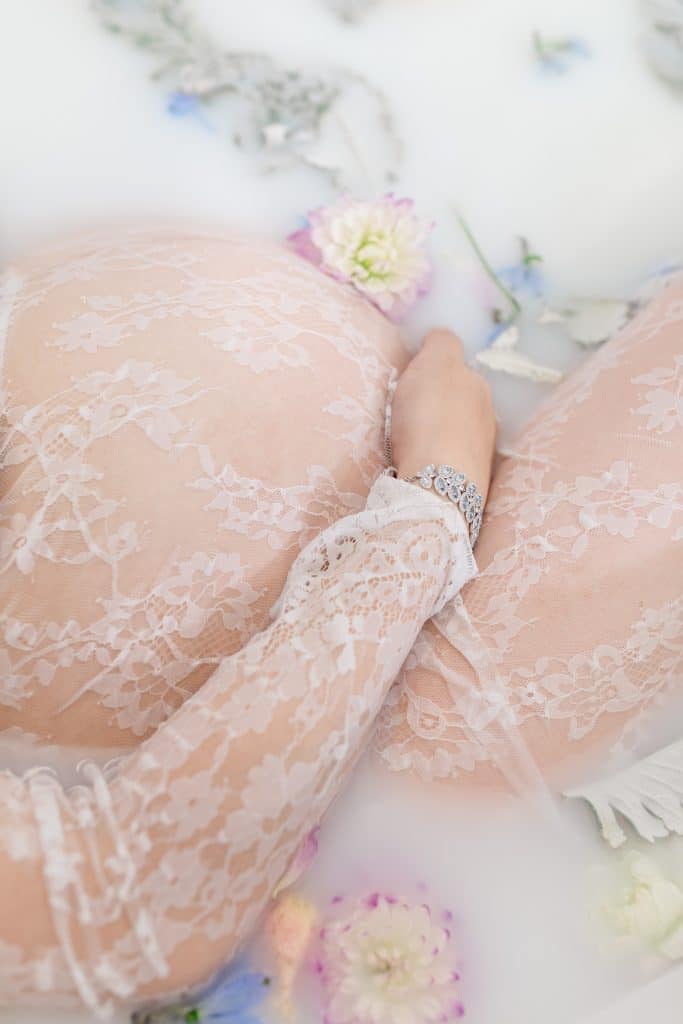
We used some garden roses, dahlias, and a couple of others for the maternity milk bath photos you see here. I’d suggest getting an idea of what types of flowers you like and describing them to your local florist—showing a Pinterest inspiration board can be helpful here. It’s best to err on the side of getting more types of flowers and a slightly greater quantity than you’re expecting to use, as you wouldn’t want to unexpectedly run out of flowers or variety while you’re in the tub.
3. The Dress
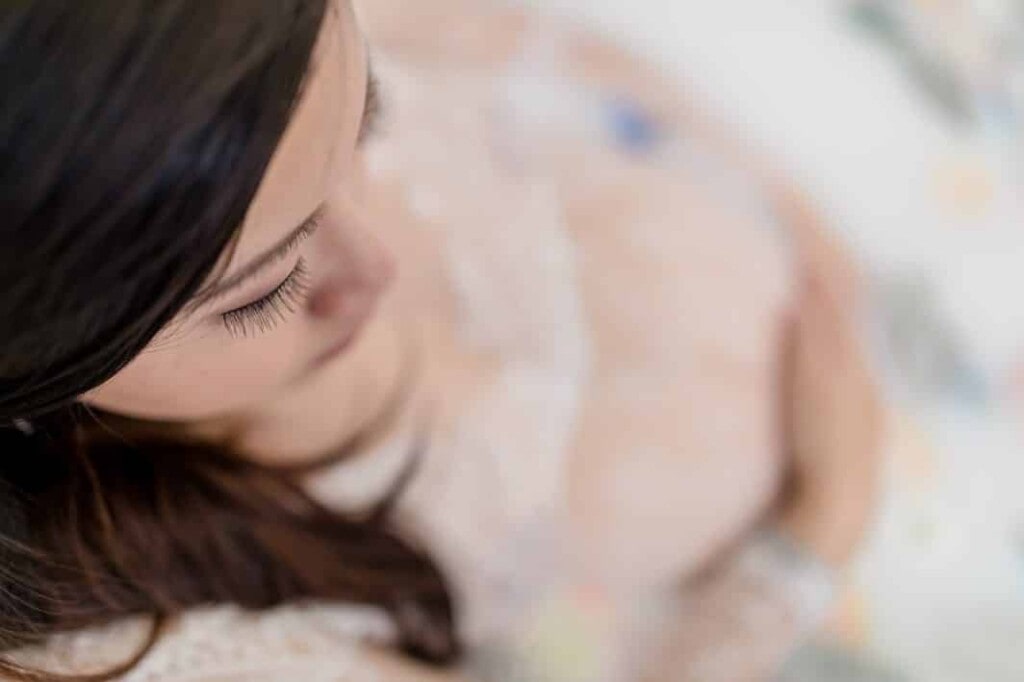
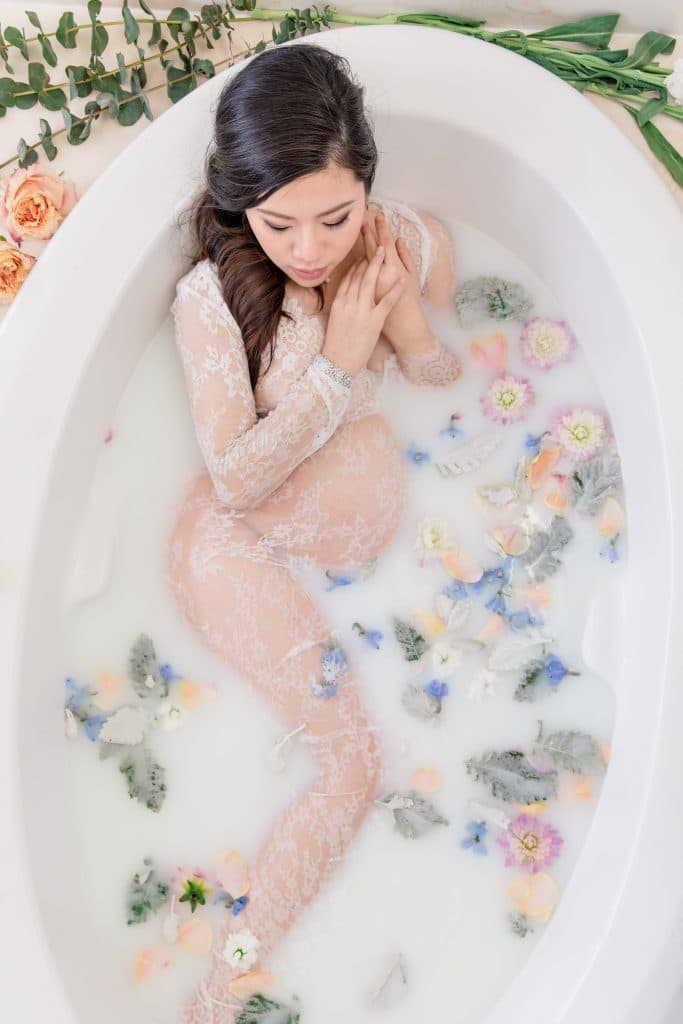
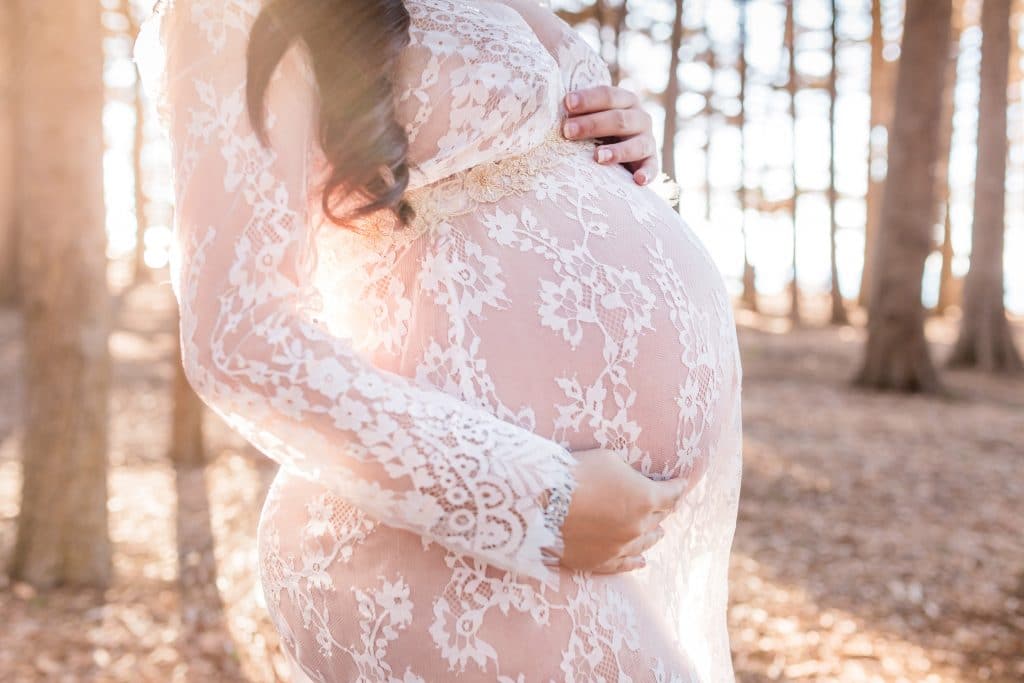
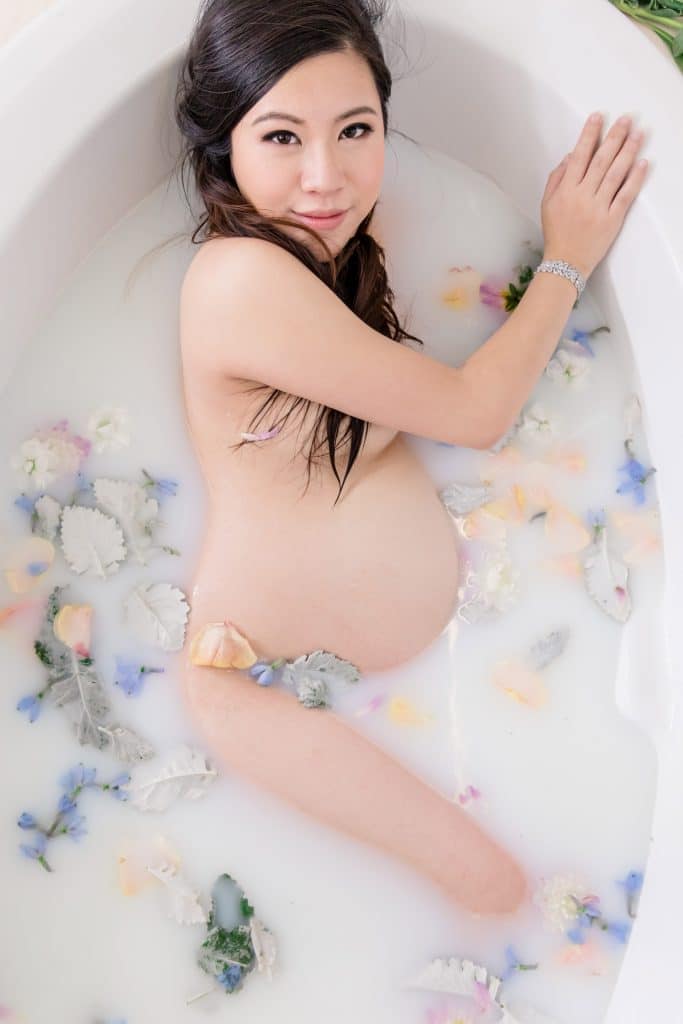
If you decide to wear a dress, it can be short or long, but choose one that fits your curves tightly and shows off your figure. Dresses with a more relaxed fit tend to fill the tub and can be less flattering for this type of photo. However, having a dress is optional! As you can see, Annie is totally bare in some of these photos, and the cloudy milk makes a great cover.
4. The Model
That’s you! For maternity photos, we recommend shooting between 32-34 weeks. For best results, be sure to pretty up and have your hair and makeup done as well.

5. The Milk Bath
Now that all the ingredients are ready for your maternity milk bath photoshoot, it’s time to put them all together. Fill your tub with warm water — be sure to test the temperature! — plus 1-2 gallons of whole milk. Start with a gallon, and slowly add more to reach the desired opacity.
If you’re wearing a dress, be sure to put it on first (don’t forget to cut off any tags that might be visible), then carefully get into the tub, trying to keep your hair and as much of the top part of the dress as dry as possible. Then, carefully place flowers all around and inside the tub. The flowers will last through the photo shoot, but your hair and dress will only be dry for a short while, so be sure to get some photos quickly before they get too wet.
Experiment with different poses and angles until you get what you like, and rearrange the flowers when needed, as they drift around quite a bit. And, of course, relax and have fun!
I hope these tips for DYI’ing your own maternity milk bath photoshoot has been helpful, and we can’t wait to see the lovely images you make!