Almost every breastfeeding mother has a time when they need to pump, store, and prepare breast milk for their baby. For example, if you have to go back to work and want to continue breastfeeding, if you want your partner to help with a feeding, or if you have to run errands. It’s any time you must be away from your little one for several hours. This is why pumping your breast milk can be very convenient and sometimes necessary.
As a postpartum doula, I have helped many clients who have often needed advice and assistance on how to pump and store, and sometimes, preparing breast milk isn’t done correctly. I wanted to share some tips below to answer questions about correctly storing and preparing your breast milk. Hopefully, these tips will make this process a lot easier!
How To Collect Breast Milk
There are a multitude of breast pumps available on the market. Make sure to do your research to find out what pump will work best for you to express milk. If you are unsure how to use your pump, read the instructions and follow the suggestions. It is essential to know how to use your pump before actually using it. If you are unsure or have questions, ask your lactation consultant for assistance. Once you’ve chosen a breast pump, you can take these steps to collect breast milk:
1. Ensure Everything Is Clean
The first thing you should do is wash your hands with soap and water. Then, wash the bottles and breast pump parts in hot, soapy water. Some people boil water and place the pump parts and bottles to sterilize. Others use their dishwasher since the temperature it reaches helps sanitize, but this depends on the pump.1,8 Just make sure that the rest of the dishes are pre-rinsed. You don’t want leftovers on them — see tips for properly cleaning a breast pump.
NOTE: Do NOT wash the tubing in a dishwasher or sterilize it in any machine. This can cause water to get into the tubing. This isn’t good because water can get into the machine and break it.
You want the parts to air dry, so lay them on a clean towel or paper towel. You can also use a drying rack. Note that you do not have to sanitize your pump parts every use. Between using them, you can hand wash with soapy hot water. The CDC recommends you sanitize the pieces once a day to ensure “extra germ” removal.1 Sanitizing is most important for infants under 2 months old, those with a weakened immune system, and infants born prematurely.1 Once the parts are clean, you can assemble your pump.
2. Check the Size of Your Breast Shields
When you are ready to start pumping, ensure you have the correct size breast shields so your nipple fits comfortably. Having the right shield size is so important for successful pumping. The standard kit most families purchase comes with one or two different size options. However, there are various shields you can buy separately. Most of my clients experience that the shield the kit comes with is too small. Make sure to check if you need to purchase a larger size. Medela makes breast shields to fit all nipple sizes, from small to extra large.
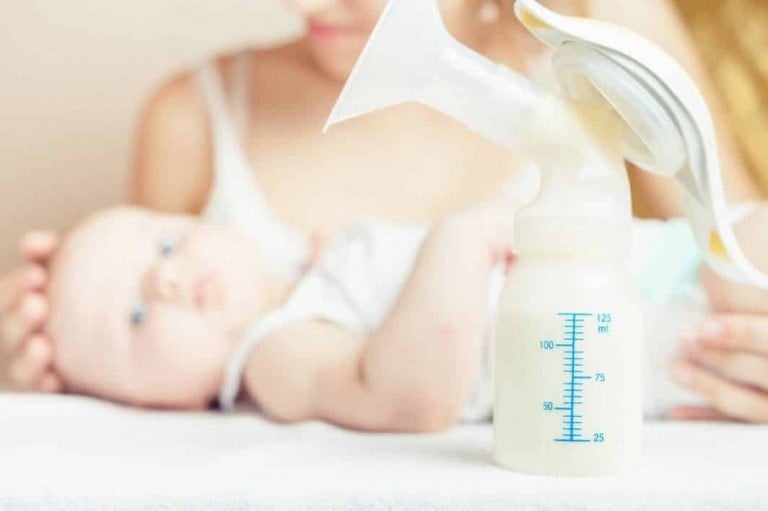
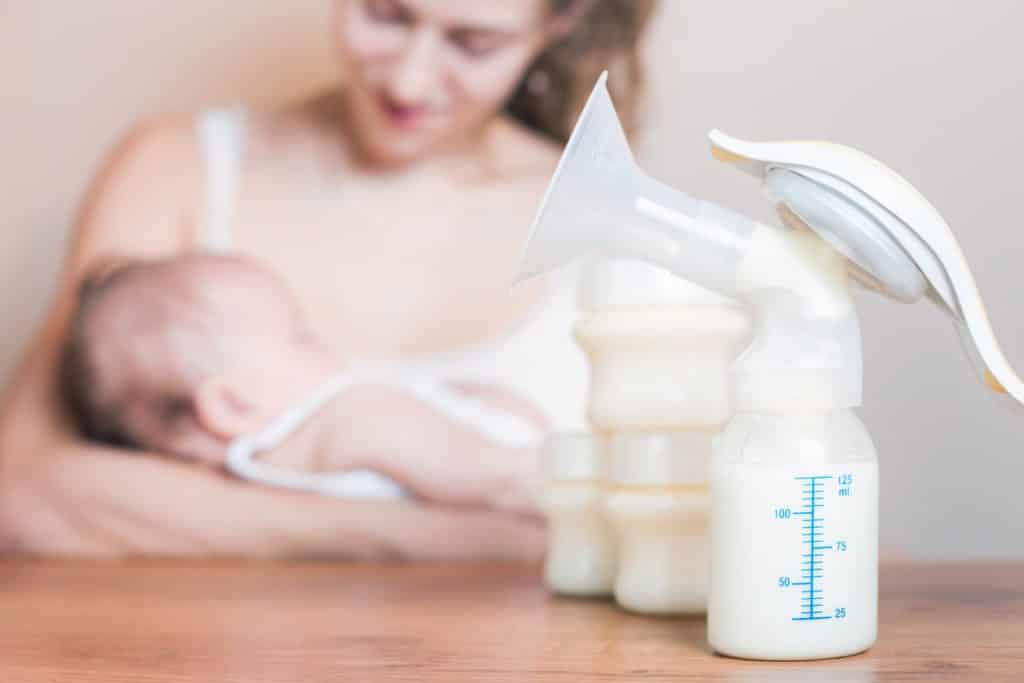
3. Start Pumping!
Find a quiet and comfortable place and start pumping. Work to find a comfortable cycle speed and suction level. A pumping “session” should end when your breasts feel empty and expressed milk begins to slow down. For every mother, the amount of time it takes to pump will vary but is commonly seen to be about 10-15 minutes.4
How To Store Breast Milk
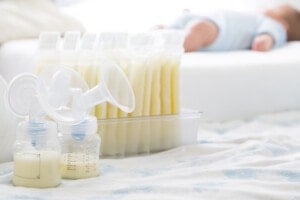
To store your milk, pour it into breast milk collection bottles or disposable bags designed specifically for breast milk. The bottle must be a clean, capped glass or hard plastic, BPA-free container.9
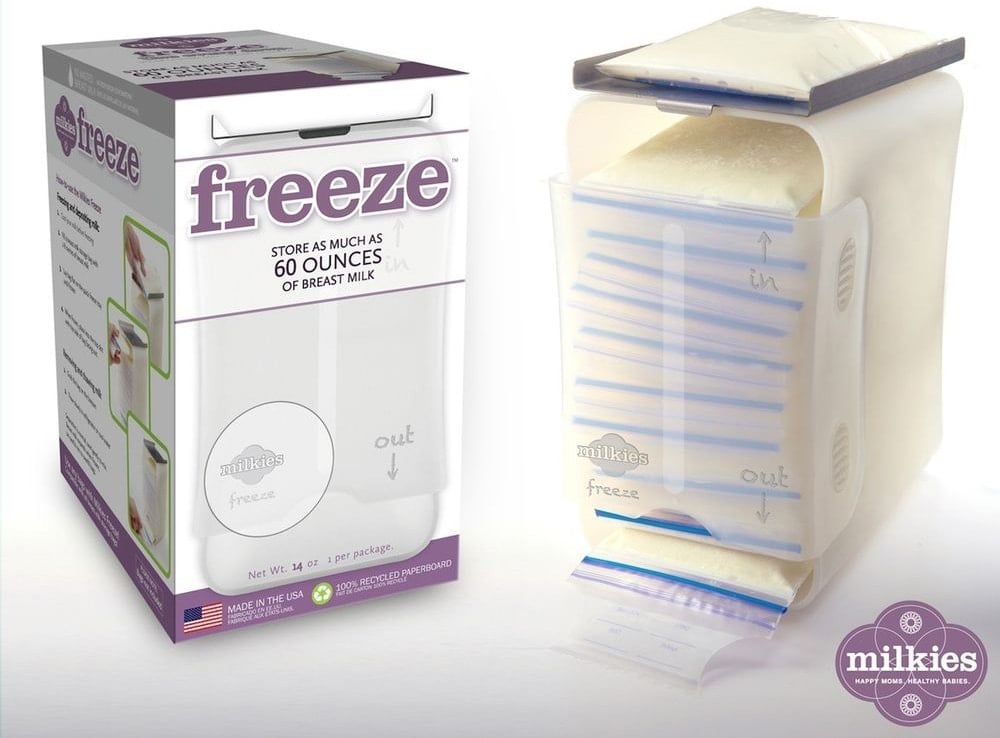
Breast milk storage bags might tear, leak, and contaminate more easily than hard-sided containers. So, place the bags in a hard plastic food storage container with a tightly sealed lid for extra protection. Even though disposable bags are made for breast milk, these things still happen. I have seen several mothers cry over their spilled milk, so carefully store it. To easily find the oldest bag of stored breast milk, check out Milkies’ The Freeze.
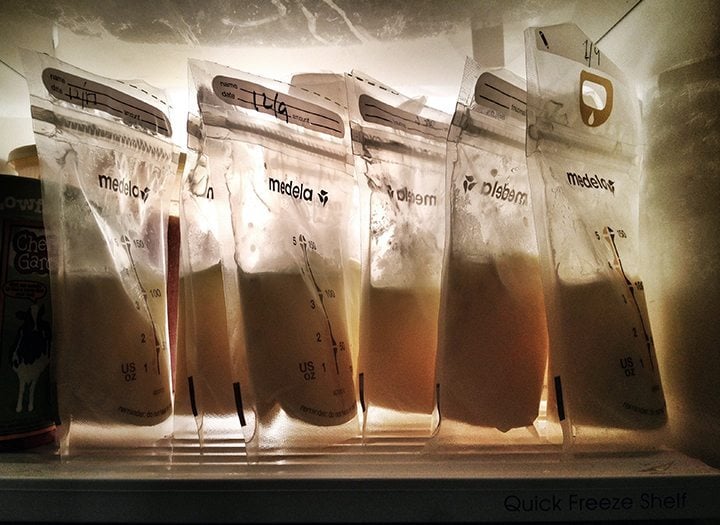
Again, seal containers tightly to prevent any leaking. Write the date and time on a piece of tape on the bag or bottle — this way, you know which is the oldest since you want to use the oldest milk first. Place the containers in the back of the refrigerator or freezer, where the temperature is the coolest.2 If you don’t have access to a fridge or freezer, store the milk temporarily in an insulated cooler.
I recommend freezing your breast milk in 2- to 5-ounce portions. Small amounts thaw faster, so this way, you waste less milk, save more time, and avoid over-feeding your baby. Many parents want their babies to finish the whole bottle since they don’t want to waste a drop, but you do not want to overfeed your baby. Also, leave extra room at the top of the container or bag because the liquid will expand when frozen. You don’t want the bottle or bag to burst!
To further assist you in storing breast milk, here’s a helpful chart to follow:
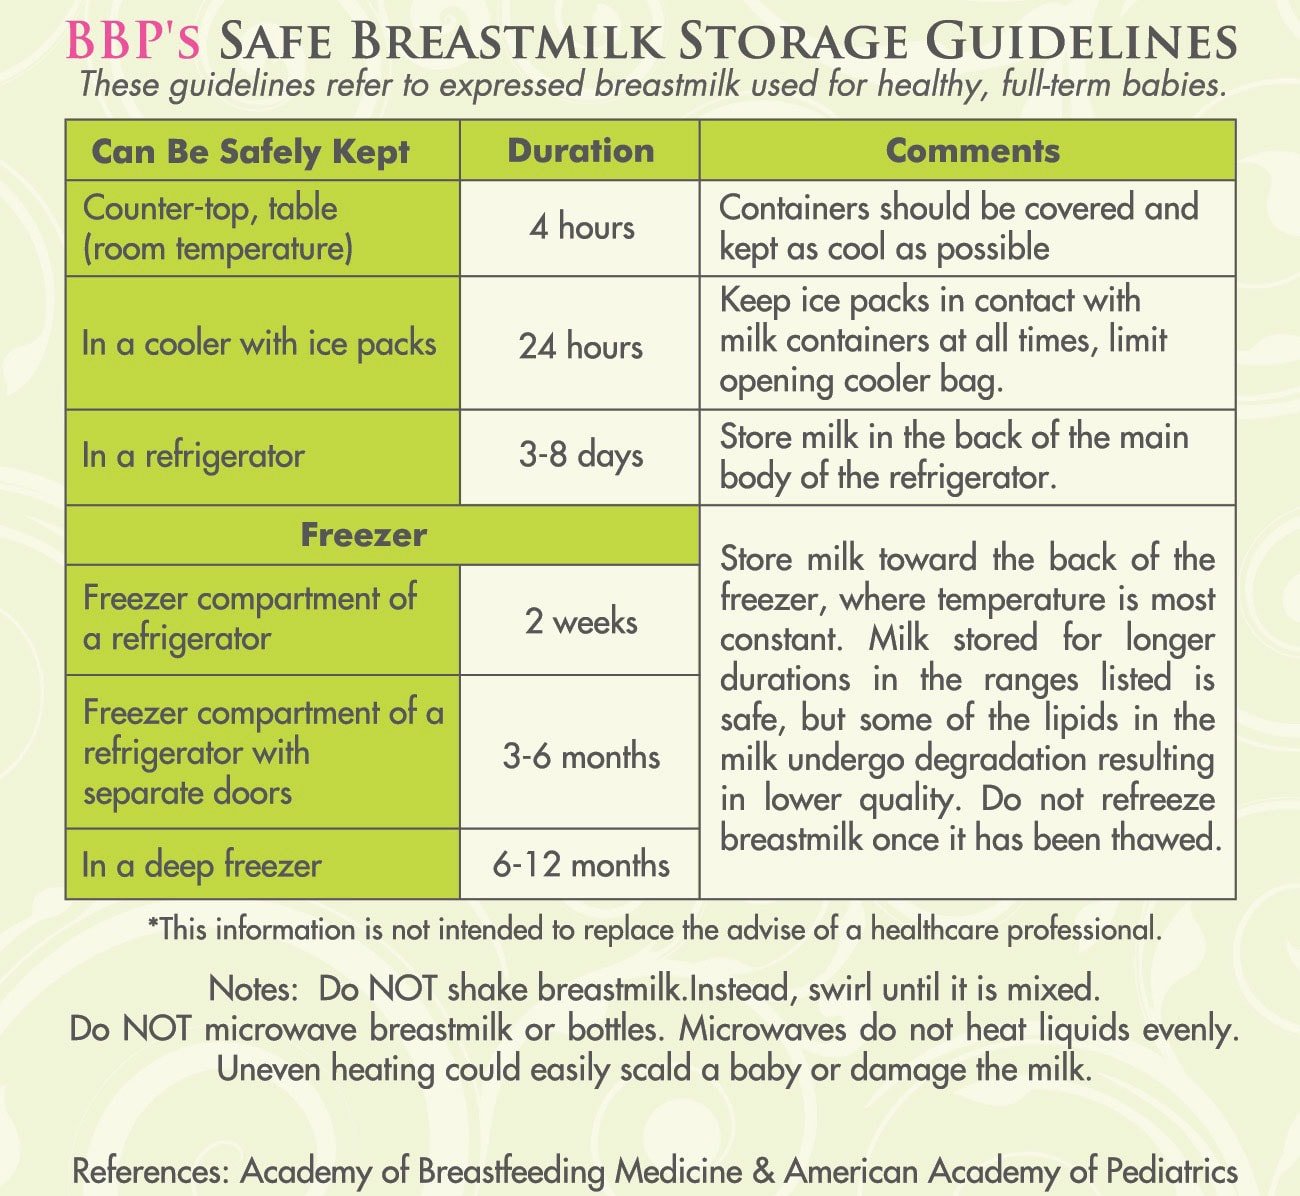
You can also read these tips for creating a breast milk freezer stash. However, if your baby was born premature, these guidelines might differ slightly. You should check with your healthcare provider for the recommended storage guidelines for your specific situation.
How To Prepare Breast Milk
Once again, hand hygiene is always important, so wash your hands before preparing breast milk. When you are ready to prepare the breast milk, you want to gently swirl the warmed bottle to mix the milk layers.7 Do NOT shake the milk. That damages the milk.10
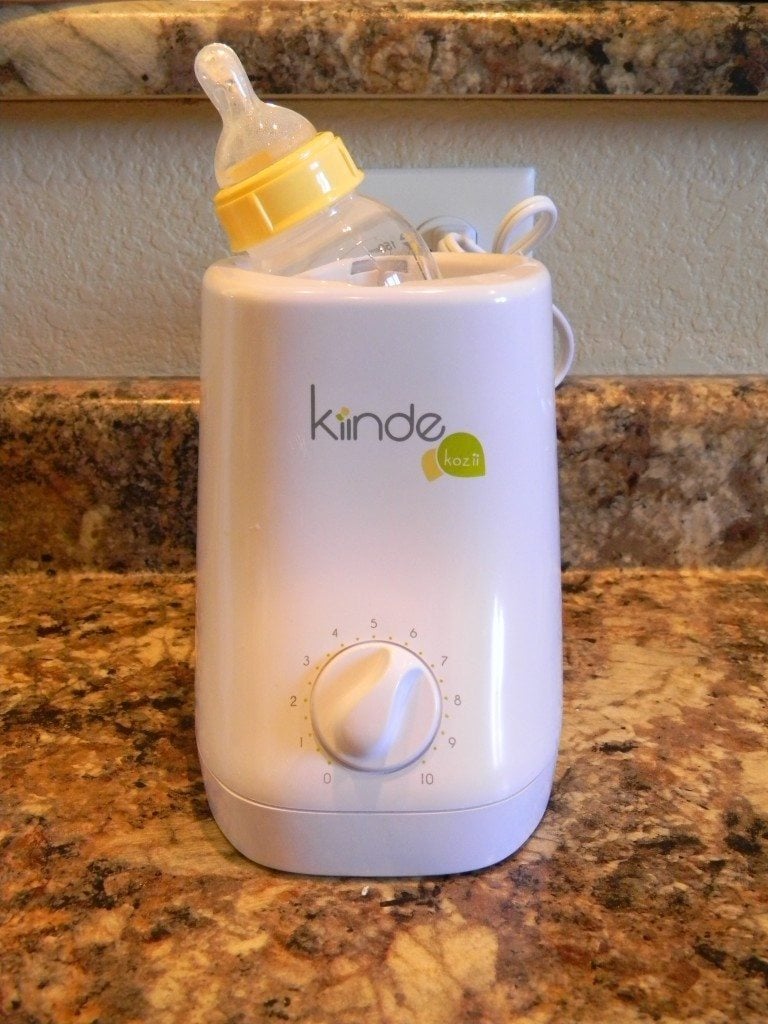
If your breast milk has been stored in your fridge, you can use a bottle warmer or place it under running warm water in a cup or bowl full of warm water.7 Do NOT microwave your breast milk or heat it quickly on the stove. This also damages the composition of the milk and can create hot spots that can scald your baby’s mouth.7 No fun.
If you’re trying to thaw your frozen breast milk, first move your milk to your fridge the night before. You can hold the bag or bottle under warm running water if you need it sooner. It will take longer to thaw and warm than a cool/cold bag of breast milk stored in the fridge. When you have a hungry baby, that might not be ideal. Before feeding your baby, make sure to test the breast milk’s temperature.7
FAQs About Breast Milk and Feeding
Here are answers to other common questions that moms have about feeding:
So there it is! My advice on how to properly collect, store, and prepare your breast milk. I hope it helps you have an easier time with feeding!