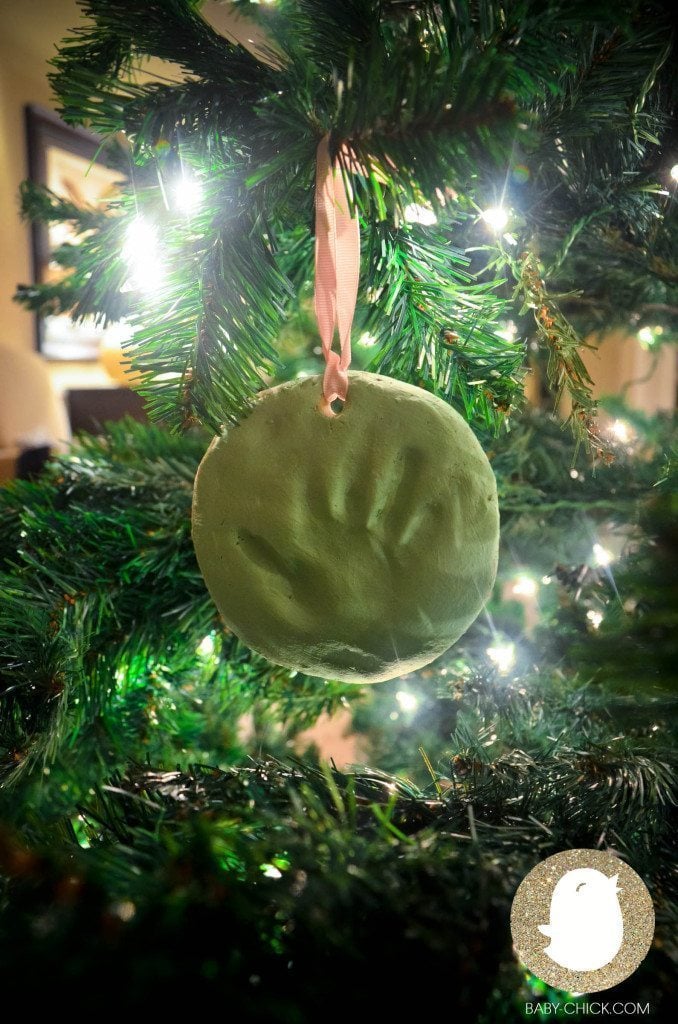
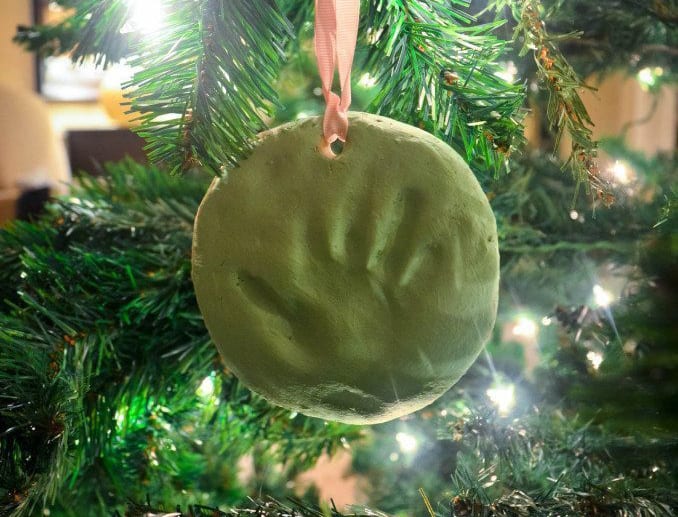
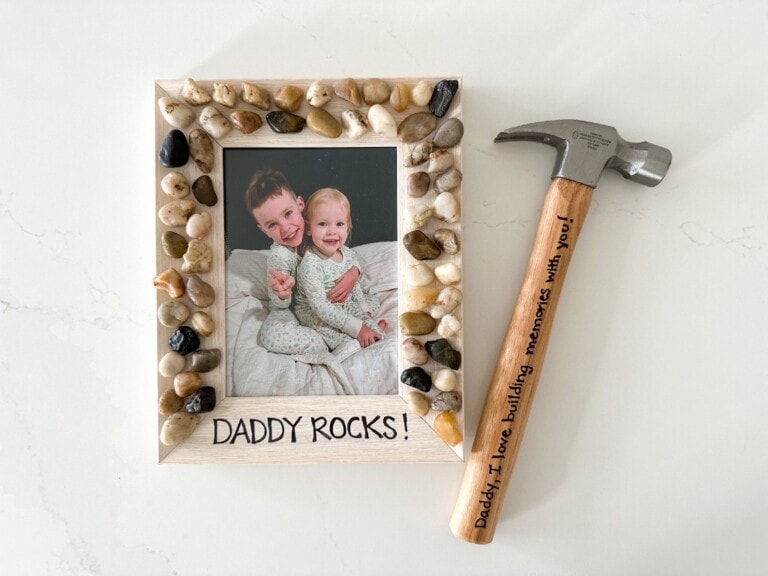
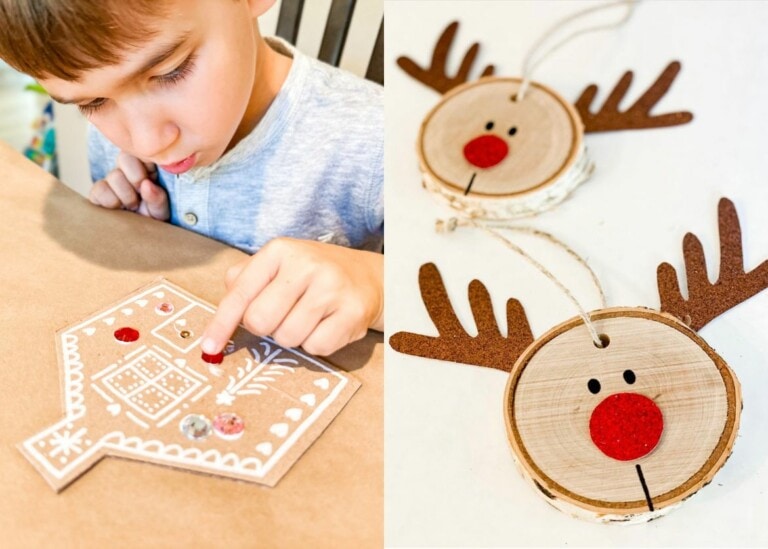
My busy toddlers love making crafts. Handmade crafts and gifts always make the best family presents for the holidays or as keepsakes for a baby’s first Christmas. So when I found this idea online, I knew we would have to make these ornaments for the grandparents this year. I also intend to make one of each for us to keep — we allow the girls to decorate their own tree in their playroom every Christmas. I think these “handmade” ornaments will make a lovely addition each year!
Here’s what you’ll need:
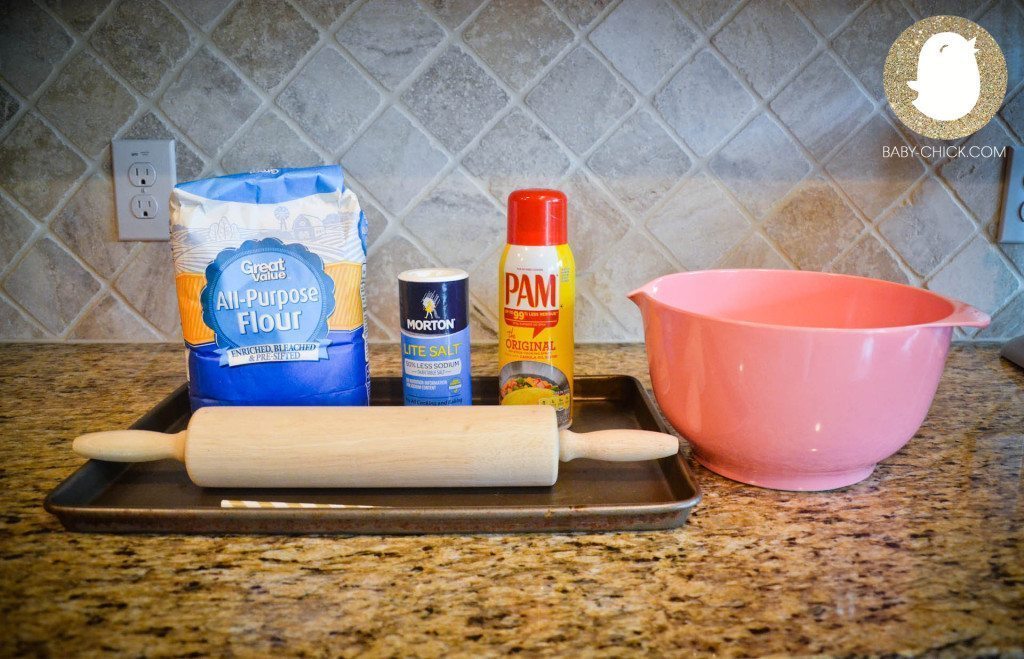
- 4 cups of flour
- 1 cup of salt
- a large mixing bowl
- water to moisten
- a cookie sheet
- a little bit of oil for greasing (or nonstick spray)
- a small rolling pin
- a drinking straw
- decorative ribbon
- paint (optional)
This craft recipe makes enough for approximately four to six ornaments, depending on the size.
Here’s how you make it:
1. Preheat your oven to 170 degrees.
2. In your mixing bowl, gradually mix the flour, salt, and water. Add slowly because you can always add more water but can’t take it away. (I added 1/4 cup water at a time.)
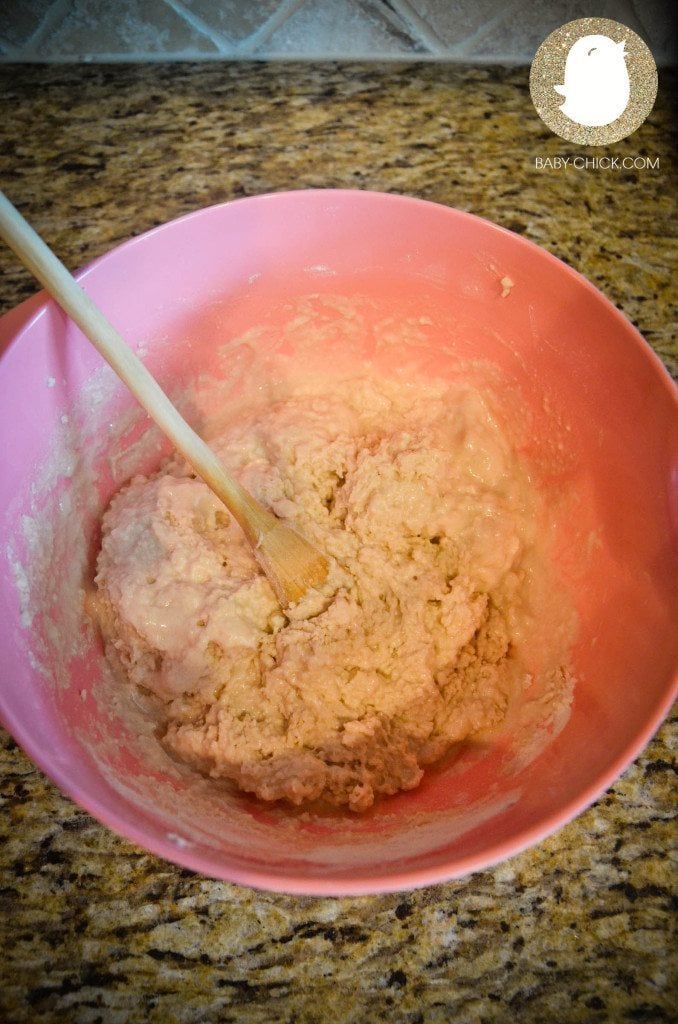
3. Next, lightly grease the cookie sheet with oil (or cooking spray). Then roll out your dough — start by making a ball of dough, place it on the cookie sheet, and roll it out (smooth surface) to the desired thickness.
4. Use the straw to make a hole in the dough before allowing your child to make their handprint. You may need to coat their hand with flour first (or even sprinkle a little flour over the dough itself), as it tends to get a little sticky. Remember that your dough must be thick enough to make the handprint. If it’s too thin, it won’t work.
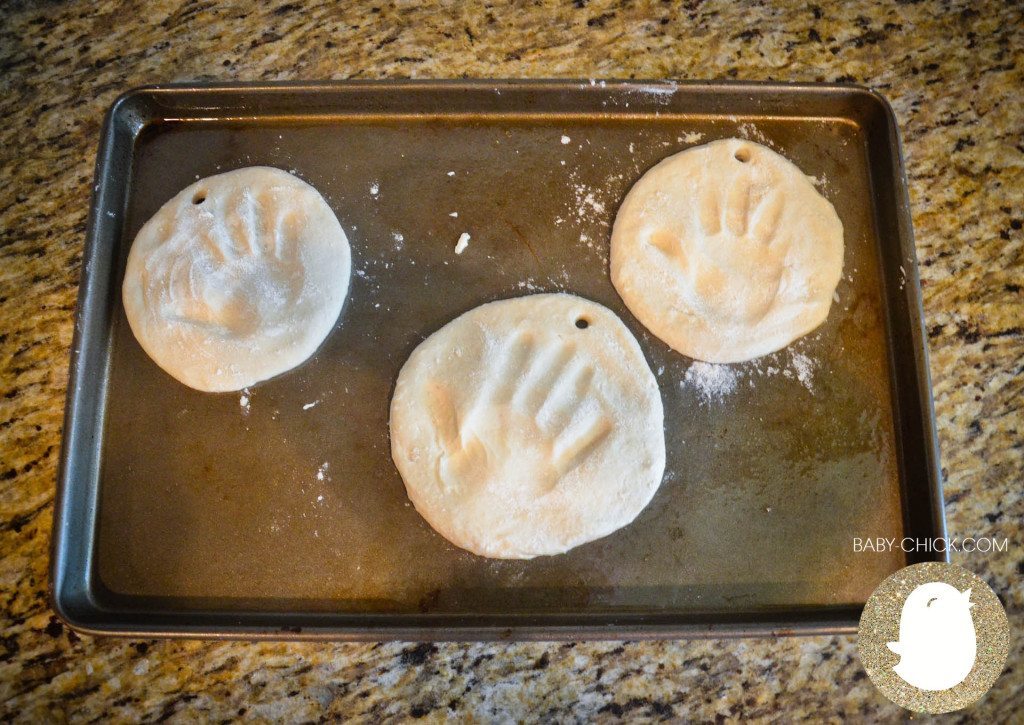
5. Bake for three to four hours, until dry and hard.
6. Once cool, paint the ornament (if desired), and add the ribbon for hanging.
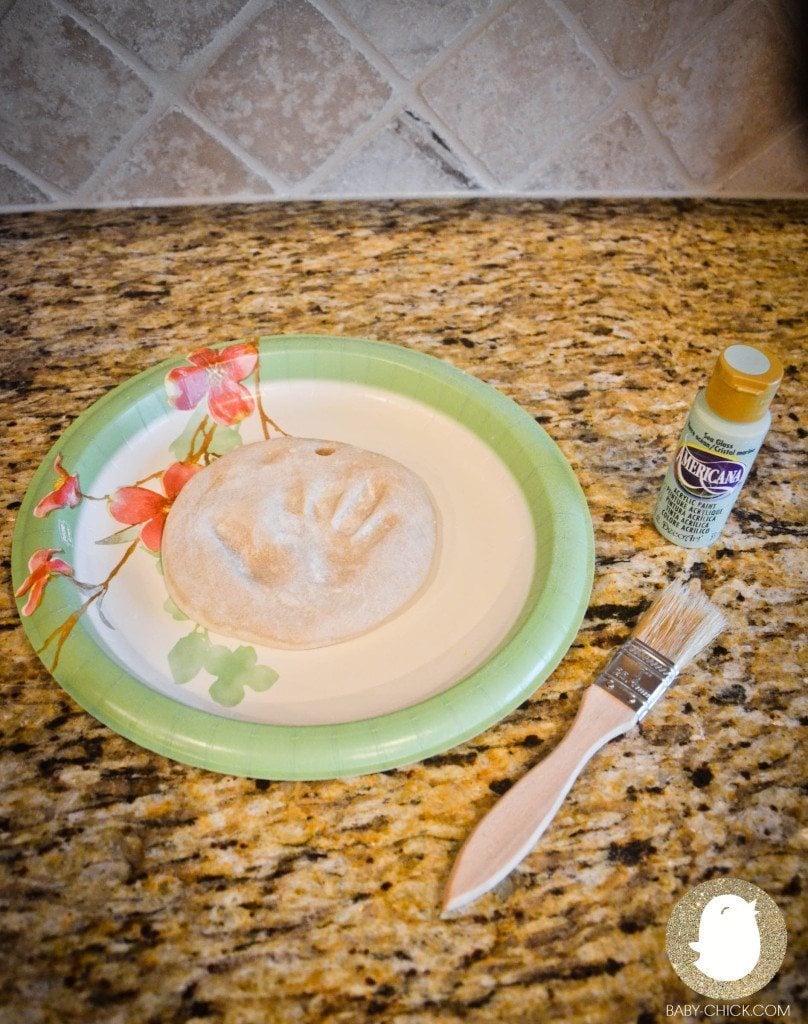
Aren’t they adorable? These handmade crafts are sure to be a crowd-pleaser this Christmas. Happy Christmas crafting!
