Those first moments of meeting your baby are unforgettable — sweet, emotional, and gone far too quickly. The days feel long, but the newborn weeks blur together before you know it.
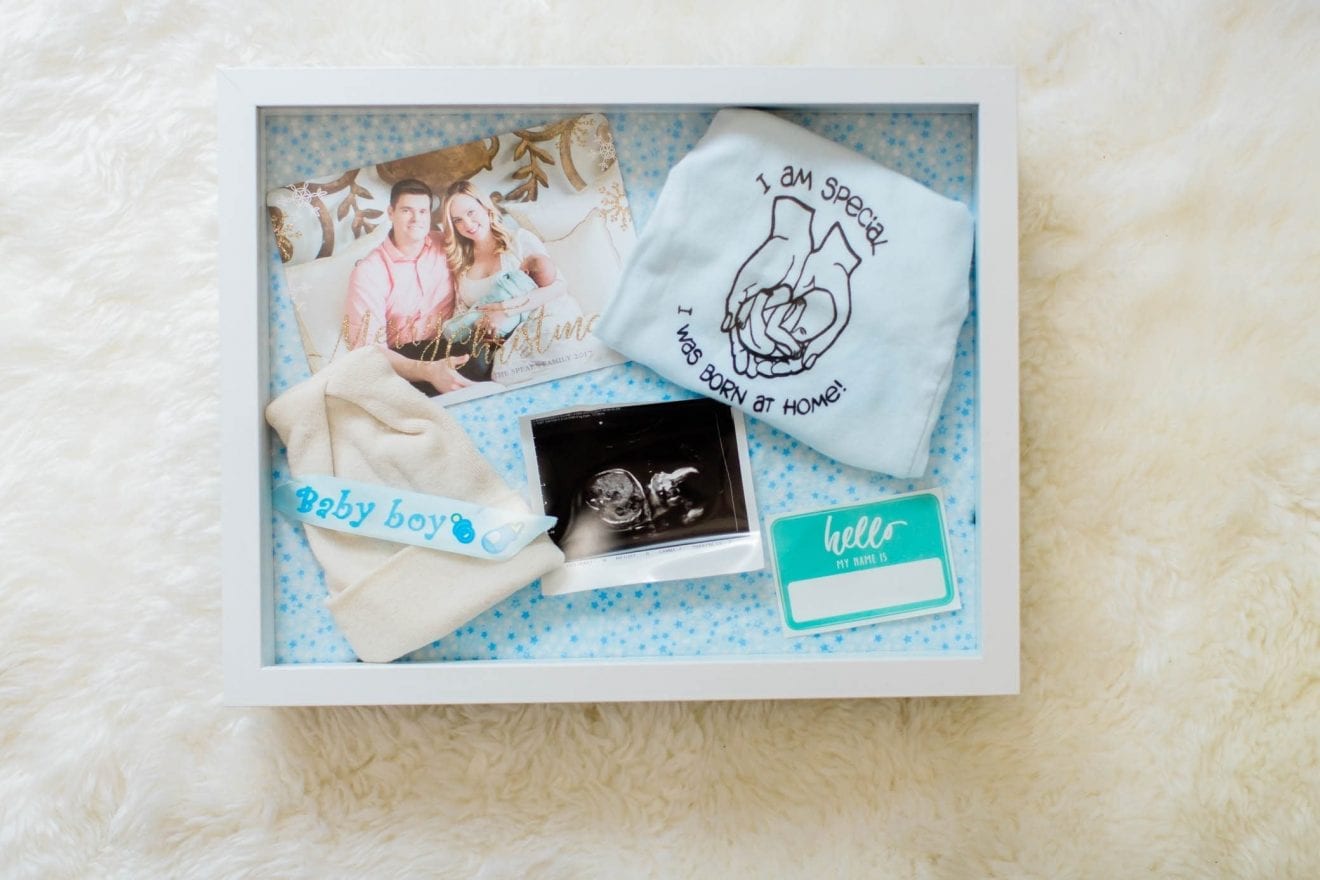
One keepsake project I absolutely love is a baby shadow box. It’s a beautiful way to display your little one’s first hat, bracelet, footprints, and other tiny treasures instead of letting them disappear into a drawer. When everything is thoughtfully arranged, it instantly brings you back to those precious early days.
Here’s how to make a baby shadow box that you and your family will cherish for years.
What You Need to Make a Baby Shadow Box
Before you begin arranging keepsakes, gather the materials you’ll need to put your baby’s shadow box together.
Materials
You don’t need much for this project — just a few basic supplies and your favorite newborn mementos.
- Shadow box
- Double-sided tape/pins/hot glue/glue dots
- You’ll probably only need one of these, depending on your background and how strong of a hold you want.
- Baby’s mementos
- These are the sentimental items you’ll display in the box.
How to Make a Baby Shadow Box
Making a baby shadow box is easier than it looks. These simple steps help you gather keepsakes, create a layout you love, and secure everything beautifully.
Creating a shadow box of your baby’s belongings isn’t a new concept, but many parents have overlooked this DIY project. Perhaps you think it will take too much time, or you’re unsure what should be included in it. Well, I’m here to tell you that this priceless project should take you less than 20 minutes to complete (assuming you have all of the memorabilia within close reach), and it’s super simple!
Below, I’ll walk you through how to create your baby’s very own birth/newborn shadow box, which you and your family can enjoy for years to come.
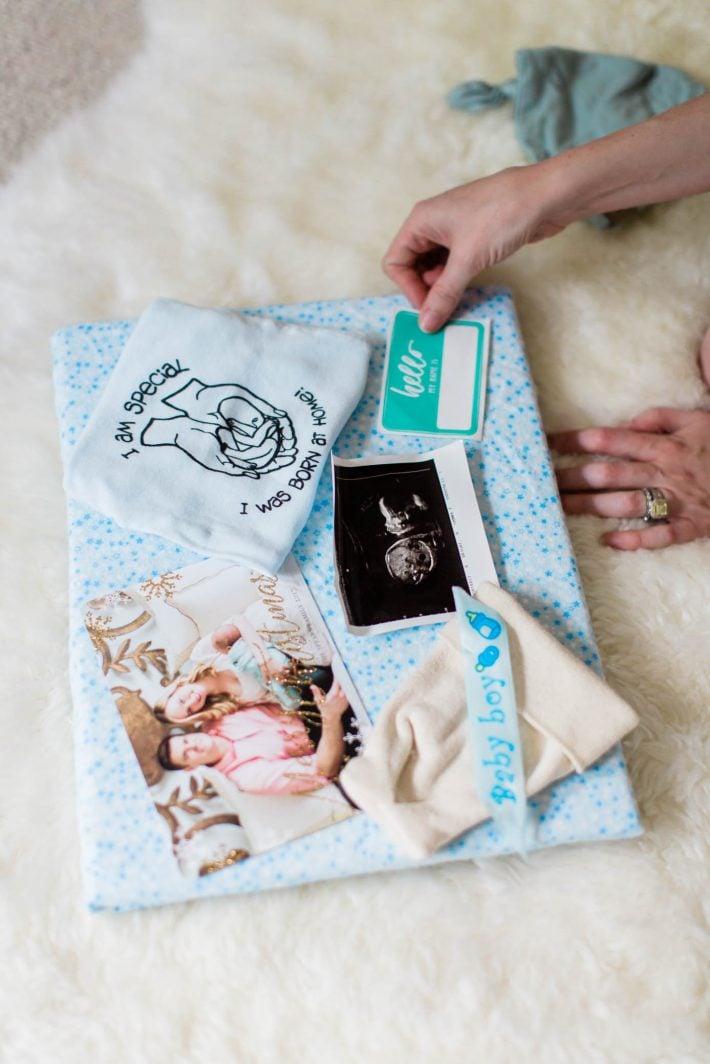
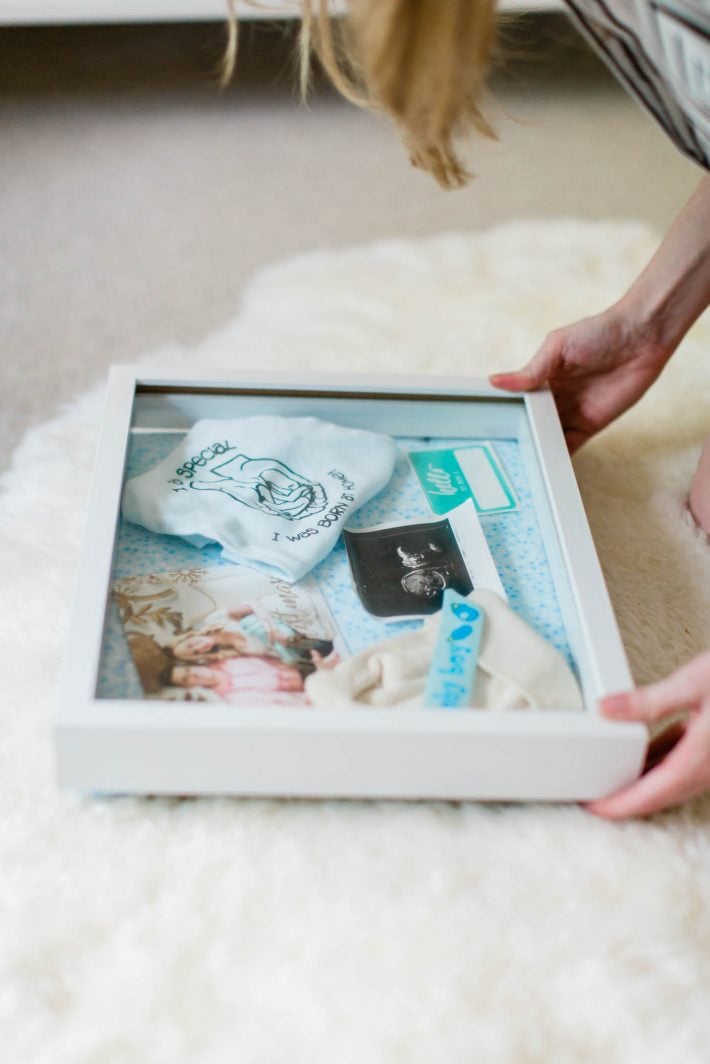
Step 1 — Gather Your Baby’s Keepsakes
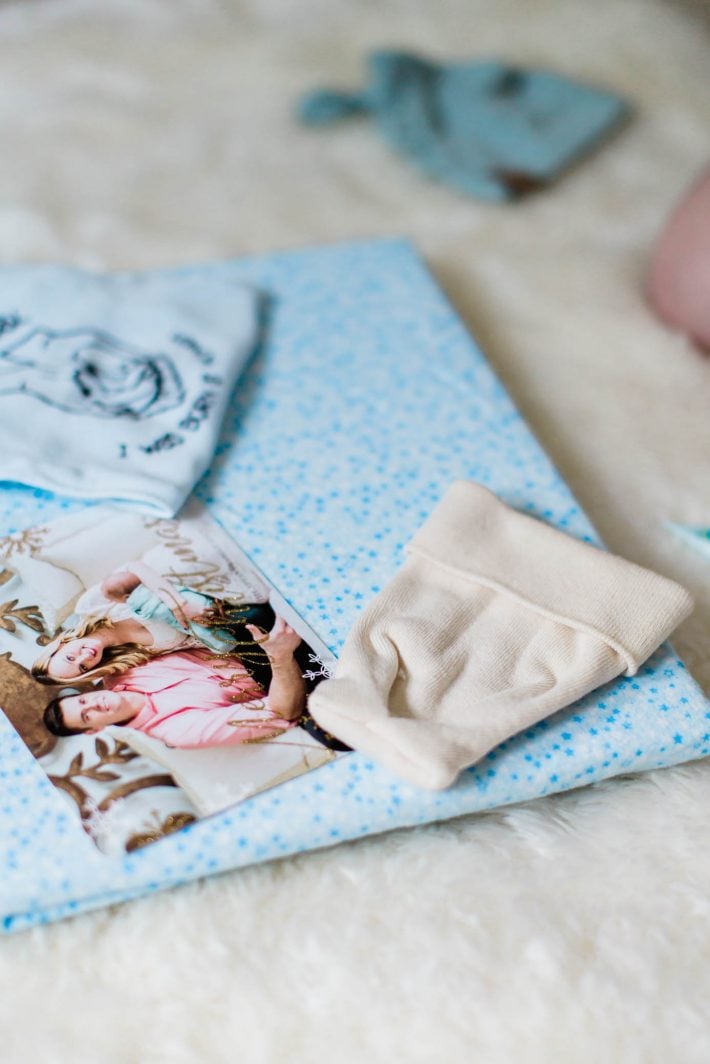
Gather all of the items that you want to include in your baby’s shadow box. If you’re not sure what to put in your baby’s shadow box, here are some ideas:
- hospital ID bracelets for Mommy, Daddy & Baby
- baby’s footprints
- ultrasound photos
- baby’s first blanket
- baby’s hat from the hospital
- pictures from that first day
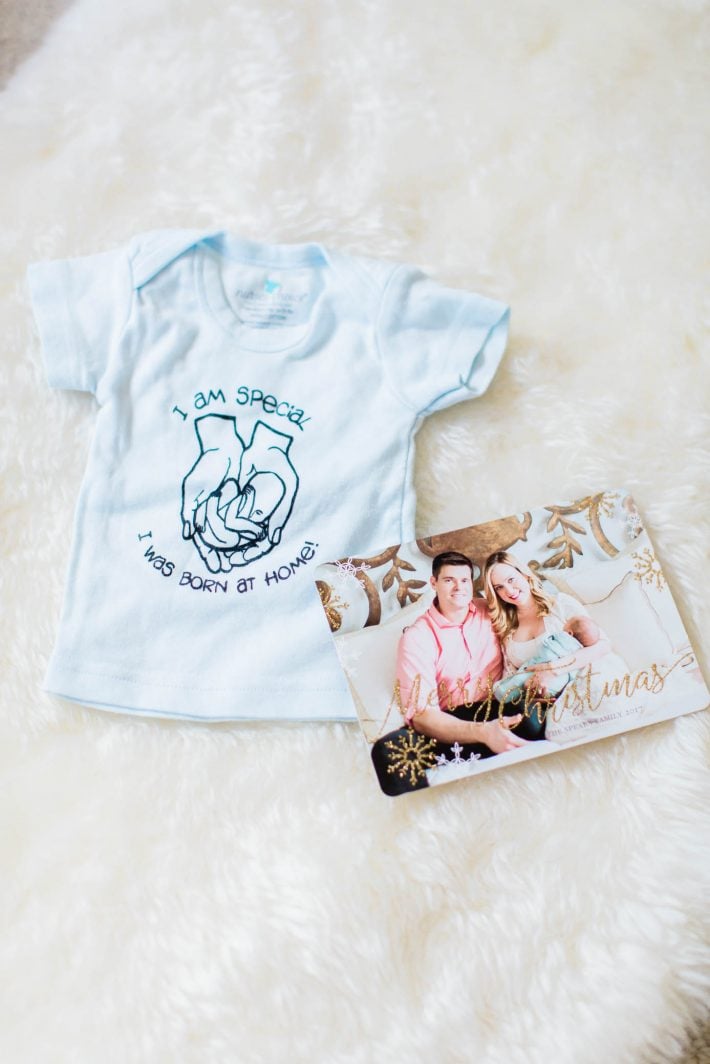
- baby’s birth announcement card that you have or will send out to family & friends
- baby’s newborn socks
- baby’s umbilical cord (if that’s your thing)
- your favorite baby onesie or their first onesie
- baby’s first or favorite pacifier (if he/she used one)
- a written record of the date and time your baby was born, and the height and weight
- Maybe even the name of the hospital/birth center, the doctor/midwife, and the nurse who helped deliver your baby. It’s cool to remember who was with you on that special day.
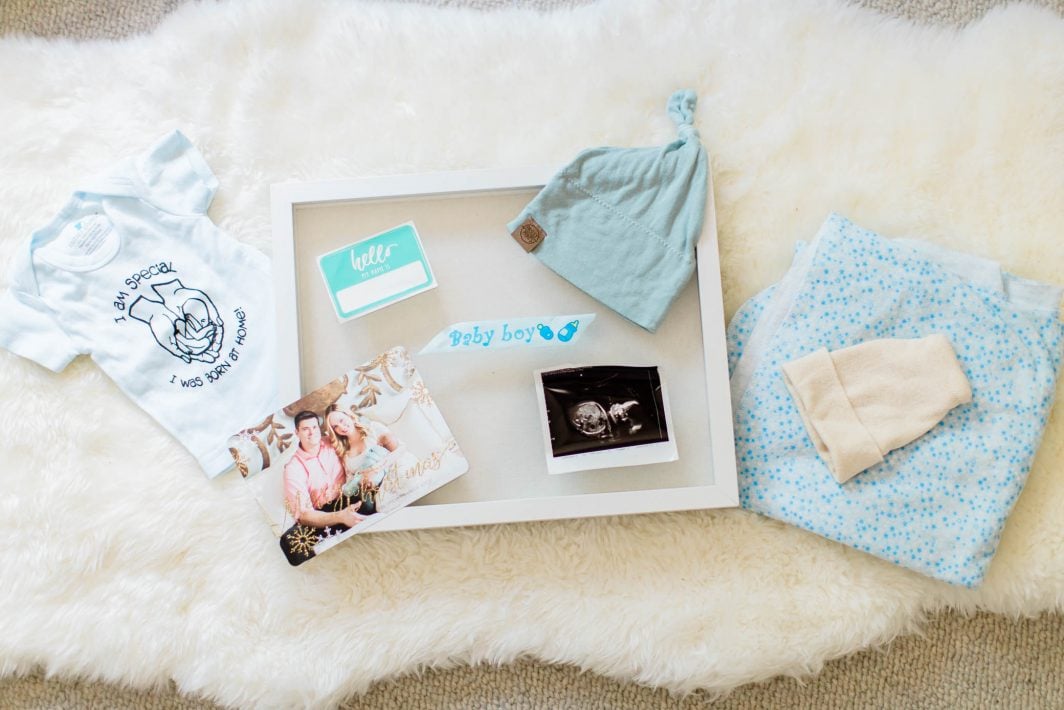
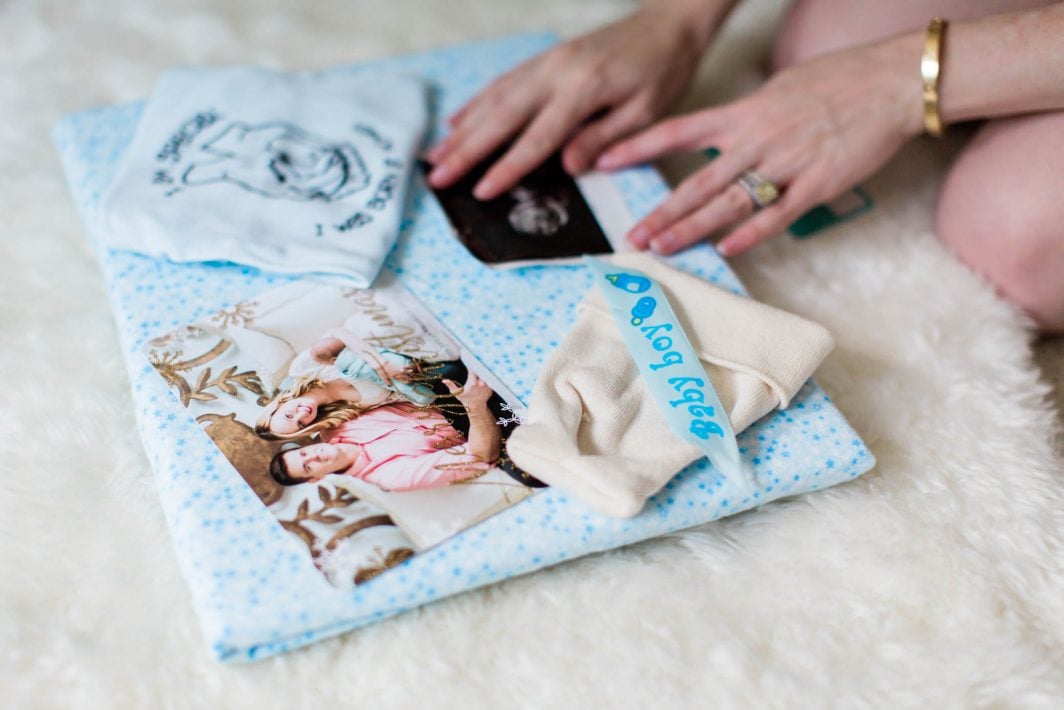
Step 2 — Arrange Your Layout First
Arrange them the way you would like them to be displayed inside the shadow box first, before you start pinning and gluing them inside. You want to make sure that you will like the design and layout of everything. You may also consider including something else when deciding on the final look.
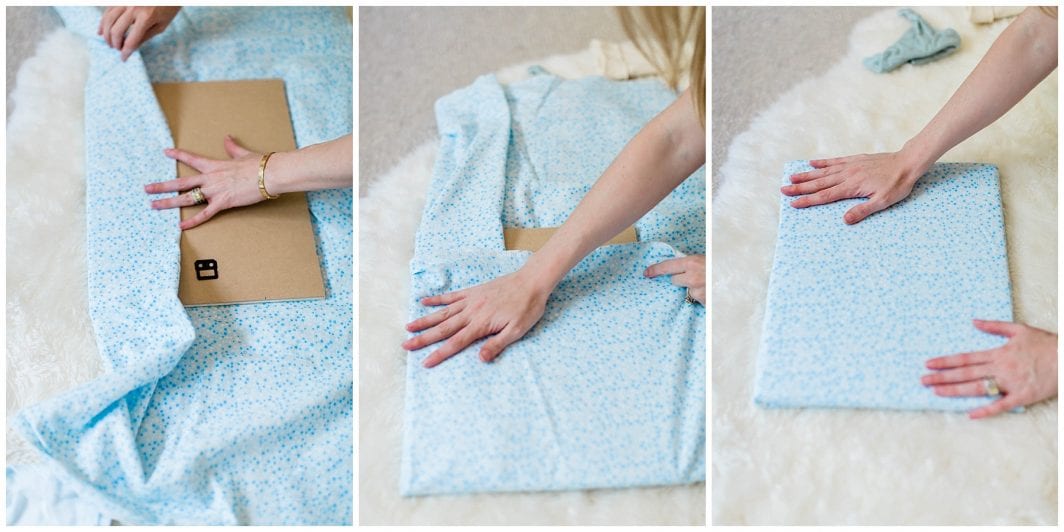
Step 3 — Prepare the Shadow Box
Get your shadow box and the items you will use to secure your items inside (e.g., tape, pins, hot glue, or glue dots) ready. If the shadow box has a felt back, you can use pins. If it’s a cardboard back, you can use a different material for a more design-oriented look, or you can even use a baby’s first swaddle blanket as the background. Super sweet!
Step 4 — Secure and Display Your Items
Start pinning or gluing your items in place! Piece of cake.
This will definitely become one of your favorite pieces in your baby’s room, and one day, your child will love it too. Knowing that you made it for them will make it that much more special.
Creating a baby shadow box is such a sweet way to honor your little one’s earliest moments. Whether you use hospital keepsakes, first photos, or tiny outfits, each piece tells part of your baby’s story. Display it proudly, enjoy the memories it brings back, and know that one day your child will treasure it too.