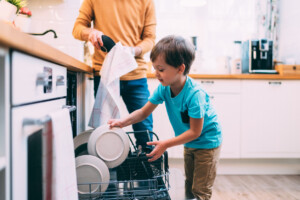
What if there were a simple way to keep your home more organized while helping your toddler stay focused and engaged in play? It sounds too good to be true, but that’s exactly what toy rotation did for our family once I learned about its benefits.
Before toy rotation, our playroom was overflowing. Toys were dumped out, ignored moments later, and everyone ended up frustrated. Once we started rotating toys, my children played more creatively and with greater focus, and our home felt calmer and more manageable. If you’re curious about toy rotation, this guide will walk you through how to make it work in your own home.
Related: Cleaning Tips For Moms With Little Ones
How To Do Toy Rotation
Toy rotation is a simple system that limits the number of toys available at one time, helping children stay focused while reducing clutter. It creates a structured way to refresh play without constantly adding new toys.
1. Sort Toys Into Categories
When building your weekly containers, aim to include one toy from each core category during every rotation. If you’re missing one or two categories, don’t fret. The goal is to try and make the most of what you have on hand. The categories include:
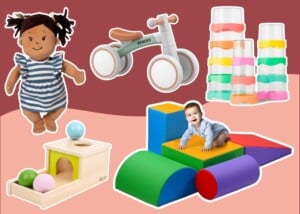
- Imaginative play: play cookware, baby dolls, action figures, farm animals, play environments (dollhouse, play kitchen, model fire station), etc.
- Vehicles: planes, trains, and automobiles of all shapes and sizes
- Logic/manipulatives: puzzles, shape sorters, lacing beads, play tool kits, peg and hammer boards, bead mazes, etc. These are usually quiet activities that require focus.
- Music: tambourines, drums, maracas, xylophone, whistles, and keyboards
- Literacy: alphabet sets, word flashcards, and books
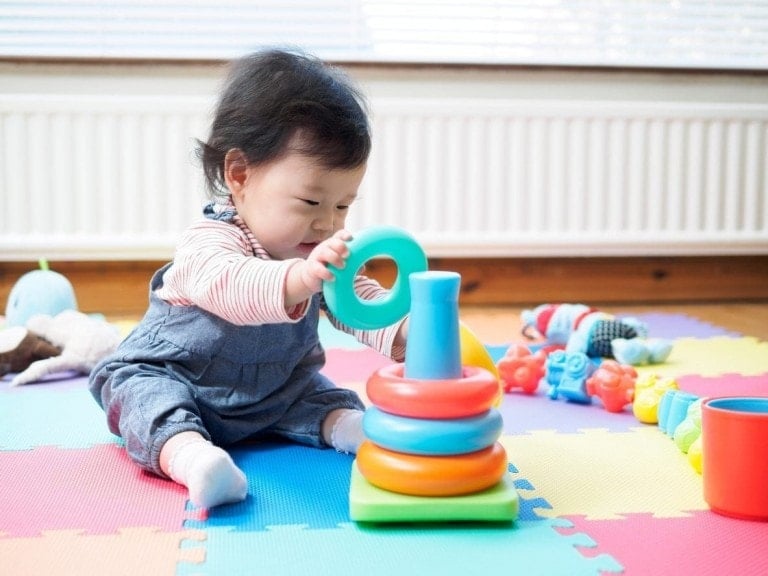
- Math/counting: stacking cups, nesting toys, number charts
- Dress-up: costumes, accessories, mommy and daddy’s old clothes, get creative!
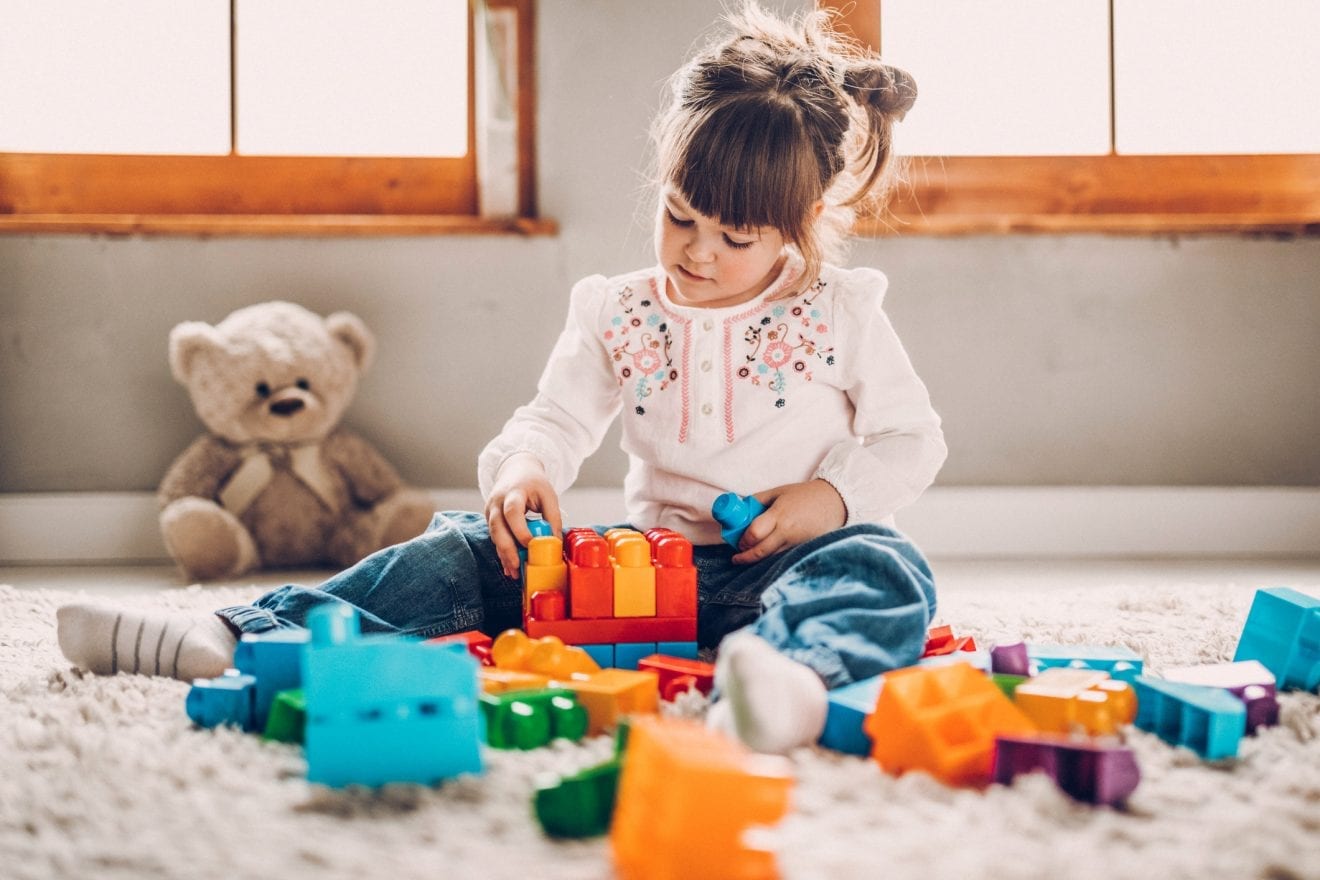
- Building: blocks, LEGO sets, magnet tile blocks
- Art: craft supplies, finger paint, tub crayons, chalk, and Play-Doh
2. Settle On Storage
Once you’ve sorted your toys into categories, the next step is to decide on a container for your rotation boxes. I use clear plastic 20-gallon storage bins. I recommend trying to recycle whatever storage you have on hand. Old moving boxes or big diaper boxes are free and would be great for toy rotation. It will work fine if you can number the box or container to keep up with the toy rotation.
The number of boxes you choose to build is entirely up to you. I have found that five containers (one a week per month with an “extra” bin) are more than enough to make my kids happy.
Related: Best Storage Systems for Toddler Toys
3. Build Your Boxes
You’ve numbered your boxes and sorted your toys, so it’s time to make the magic happen. You can be as detailed or carefree as you’d like about this process. By taking a toy from our established categories and placing one of each into your boxes, you’ve now got a week of educational play, a more organized home, and, likely, a happier child.
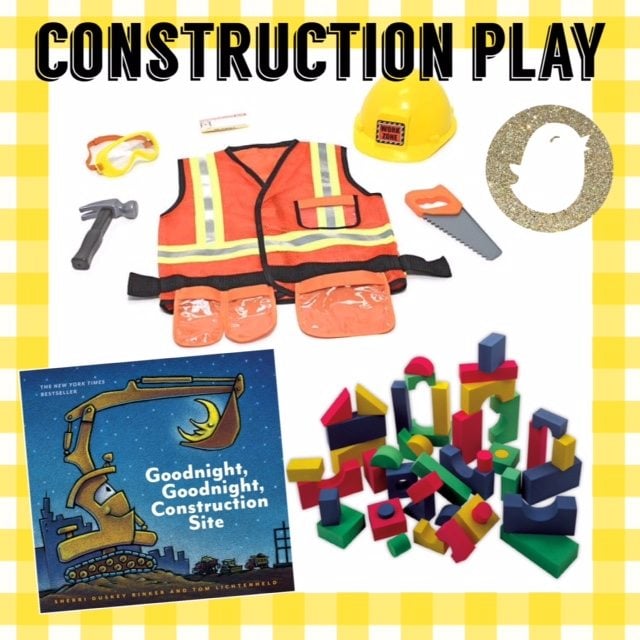
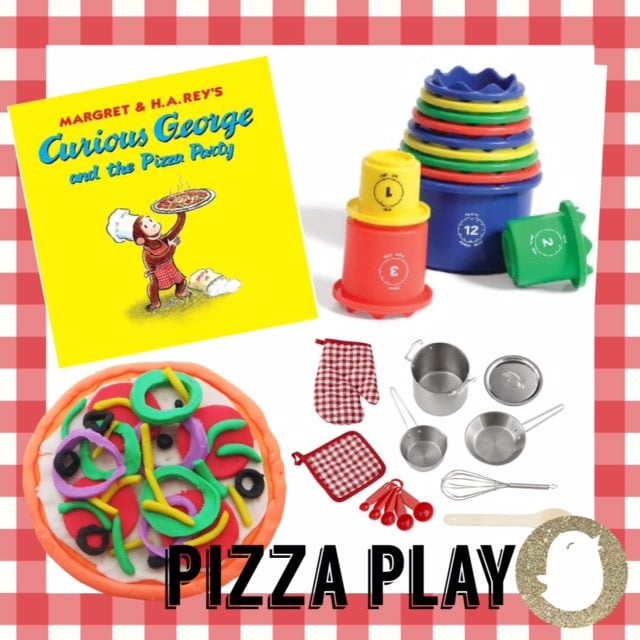
I like to take my boxes one step further by establishing a weekly theme. For example, I’ve included two “inspiration bins.”
4. A Time to Reflect
Toy rotation called attention to what I brought into my home. Often, when out and about, if my toddler asked for a Hot Wheels car, I would give him one without batting an eye. At a dollar each, they were cheap, made him smile, and allowed me to get through my errands with a contented child.
When setting up our rotation bins, I quickly realized we had nearly 50 Hot Wheels cars. And my son had an emotional attachment and cared to play with precisely two of them. It dawned on me that not only was this wasteful excess, but it was also a dent in my wallet that I could have used toward a more purposeful toy for him, such as a new instrument or a building set.
Related: How to Tidy Up Your Playroom for Good
I did a huge disservice to him by indulging in cheap and temporary satisfaction, and to myself for accumulating junk that kept my home untidy. It completely transformed my thinking and made me realize that less was truly more, even for a fickle 3-year-old.
After setting up my weekly rotation bins, I had to take a long, hard look at the toys that didn’t make the cut. Were they worth keeping? Did they serve a purpose? Were they even age-appropriate? I was able to pack quite a bit away for our next baby, as our preschooler had outgrown them. Other things were much easier to donate than finding extra space, especially knowing they wouldn’t be missed.
Toy rotation helped pull our family out from under a mountain of toys, and I’m grateful for the change it brought to our home. With fewer toys available at once, my children play more intentionally, and our space feels calmer and more organized.
If you’re feeling overwhelmed by clutter or noticing your child losing interest in their toys, toy rotation may be worth trying. Sometimes, less really is more, even for young children.