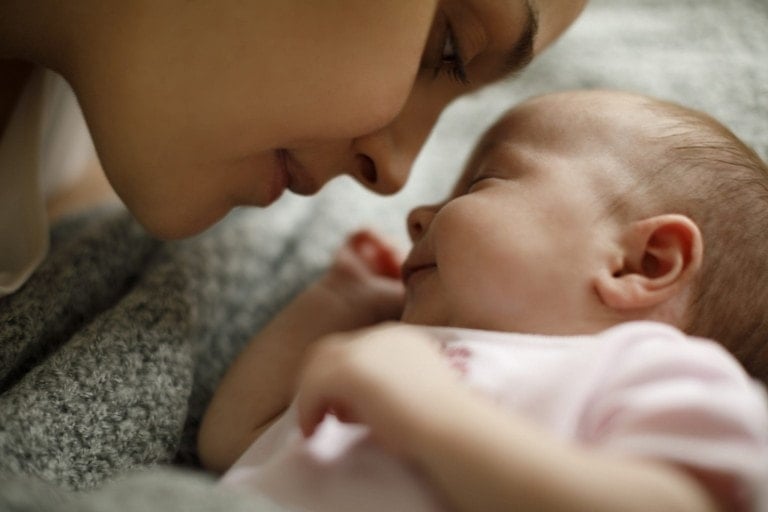
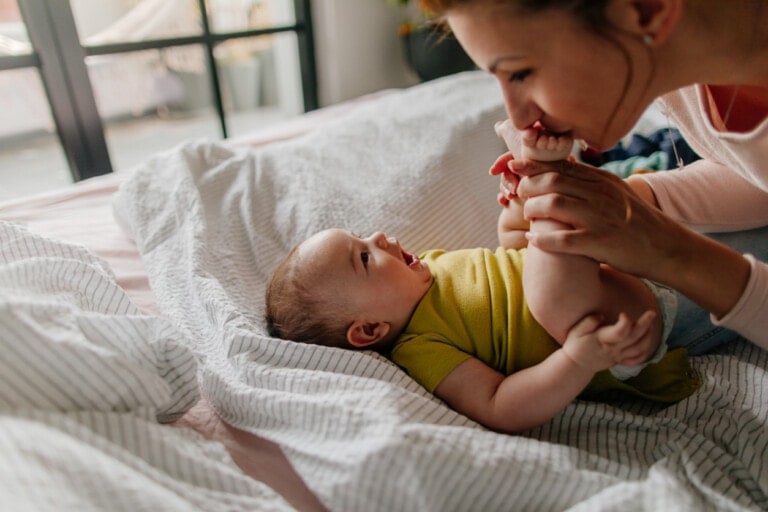
The power of touch is profound. It can strengthen connections, heal, communicate, influence, and soothe when done lovingly. Our skin is our largest organ and the pathway for touch—one of our most powerful and important functions. For long-term well-being, touch is as important as food and security. It is a powerful means of communication, the first sense we develop and the first language we learn. If done appropriately, massage has a profound capacity to nurture our relationships and our overall well-being. This is why infant massage has incredible results when performed on babies.
While completing my birth doula and postpartum doula certifications, I also enrolled in massage school. When attending births and supporting women through their labors, I discovered how impactful touch can be during labor, birth, and after delivery. Touch is such a powerful tool! During massage school, I also learned the amazing benefits of infant massage.
Benefits of Infant Massage for Baby:
- Creates a loving, intimate communication
- Enhances bonding and attachment
- Promotes social, emotional, and cognitive development
- Helps baby relax and releases the tensions of daily stimuli
- Decreases irritability and excessive crying
- Reduces gas and colic; intestinal difficulties
- Regulates behavioral states and promotes sleep
- Strengthens and relegates primary organ systems (i.e., respiratory, circulatory, nervous, musculature, digestive, and endocrine)
Benefits of Infant Massage for Parents:
- Protest better understanding of infant cues
- Enhances communication and emotional ties
- Increases confidence and handling skills
- Provides quality one-on-one interaction
- Helps parents to unwind and relax
- Increases vocalization and direct eye contact
- Gives fathers a special time to connect and bond
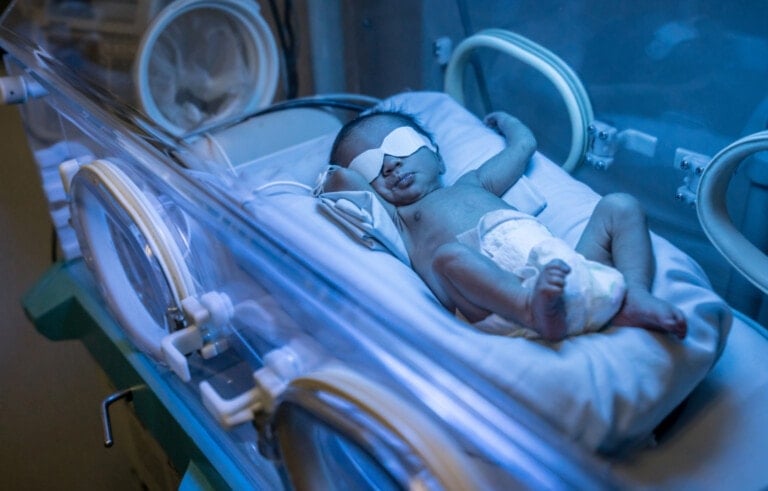
Benefits of Infant Massage for Premature Babies and Babies in the NICU:
- Facilitates weight gain in preterm newborns
- Reduce stress hormones
- Counterbalances pain responses
- Increases stable state organization
- Improves immune function
- Promotes more mature motor behavior
- Improves gastric motility
- Improves clinical and developmental scores
- Helps to reduce hospital stay
- Provides greater parent involvement and satisfaction
- Promotes better practices for improved family-centered care
After learning these benefits, it became apparent to me that every parent should learn how to massage their baby. I received my certification as an infant massage instructor in 2013 and am excited to share the art of infant massage with you.
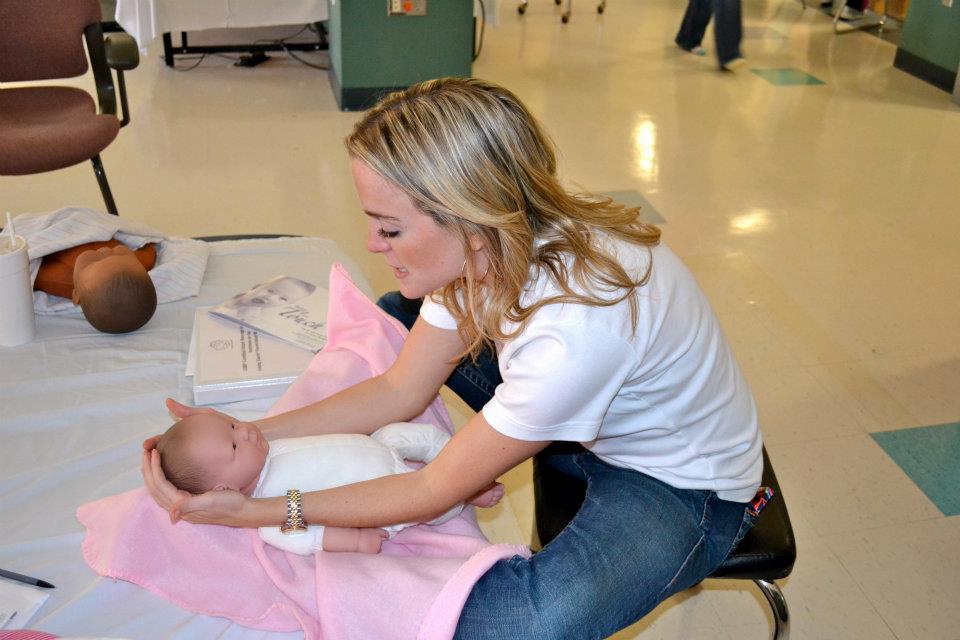
What You Need to Get Started With Infant Massage:
1. Quiet Alert State
The best time to massage your baby is when your baby is in the Quiet Alert State. This is when your baby is awake, quiet, alert, and looking around. They are ready to engage with you and learn something new.
2. Materials You Will Need
A Natural-Based Oil
Using natural oils on the skin helps avoid friction during massage. Natural, cold-pressed, or organic oils such as sweet almond, apricot, sesame, sunflower, or grape seed oil nourish your baby’s skin and give it a smooth and pleasant feeling. Do not use mineral oil-based lotions, peanut oil, or baby powder for infant massage. The use of unscented oil is preferred because babies put their hands in their mouths and also need to recognize their parent’s scent.
If you suspect an allergy, you may want to perform a patch test by placing a small amount of oil on your infant’s wrist and leaving it for 20-30 minutes. Redness may indicate a reaction.
An Extra Diaper and Wipes
It’s common for babies to release their bowels during a massage, especially during the tummy massage routine and leg exercises.
A Bottle (Or Boob) Ready to Feed
It’s also common for babies to get hungry during or right after a massage.
A Soft Blanket
Since baby will be sans clothes, have a soft blanket to wrap around baby to keep them warm during the routine.
3. Comfortable Environment
It’s best to be in a room with good lighting and a warm and comfortable temperature. (You need to see what you are doing during the massage, and we don’t want baby to get cold.) It’s also nice to have soothing music or white noise in the background. If possible, try to remove any distracting or loud noises.
4. Position
It is important to choose the correct position for massage. I recommend the floor because it is the safest place to perform the massage, and your baby can move around if needed. Spread your blanket in front of you and position your baby for good eye contact.
Now, you are ready to give your baby a massage!
How to Massage Your Baby
Here are a few infant massage moves to get you started. For the whole routine, watch the video at the end of this article:
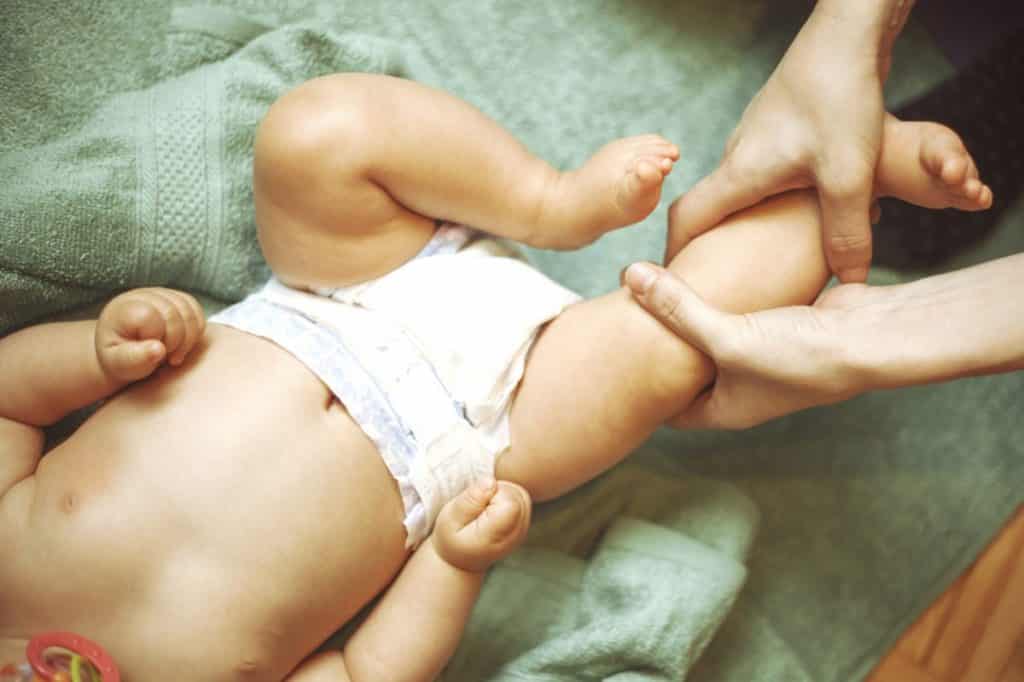
1. Legs and Feet
It’s best to start the massage on baby’s legs since they are the furthest away from his face and the place that will cause him to be the least startled.
Hold your baby’s heel in one hand; with your other hand, start at the top of the thigh and slowly stroke down to the ankle, gently squeezing the leg (medium pressure—not too light that would tickle your baby, but not too firmly either) as you go down the leg. Then, rub the feet with your thumbs in a circular motion, gently uncurling and stroking the toes. Reverse the gliding motion and go up from the ankle to the thigh before you switch legs.

2. Arms and Hands
Next, you can do the same routine and strokes we did for the legs and feet on the arms and hands.
3. Chest
Place your hands together (fingers are facing forward) on your baby’s chest and sternum, then push out to the sides, over the shoulders, and down the arms. Then, after a few of those strokes, move your right hand to baby’s right hip and glide it across the abdomen and chest to baby’s left shoulder. Do the same with the left hand on the left hip and glide it up to baby’s right shoulder. Work your way down and up to the shoulders and hips, creating an “X.”
4. Tummy
Have your hands in a paddle motion and sweep the palms of your hands on baby’s abdomen, making a scooping stroke downward. Start it from just below the ribs and stop just above the pubic bone.
With your fingertips, move your fingers around your baby’s belly button in a circle. Move clockwise to follow the natural path of digestion.
5. Back
Stroke baby’s back from side to side and then up and down. Do not put too much pressure on the spine.
6. Face
Place your hands around your baby’s head and put your thumbs on the midline of their forehead. Then press down and stroke outward towards baby’s ears. Work your way down to the eyebrows, continuing to press out towards baby’s ears.
Next, use your thumbs to draw a smile on your baby’s face by stroking from one cheek across the upper lip to the other cheek. Repeat on the lower lip.
7. Head
Start with your hands on both sides of your baby’s head, then draw tiny circles on your baby’s head with your fingertips. Ensure you do not pressure baby’s fontanels or soft spots.
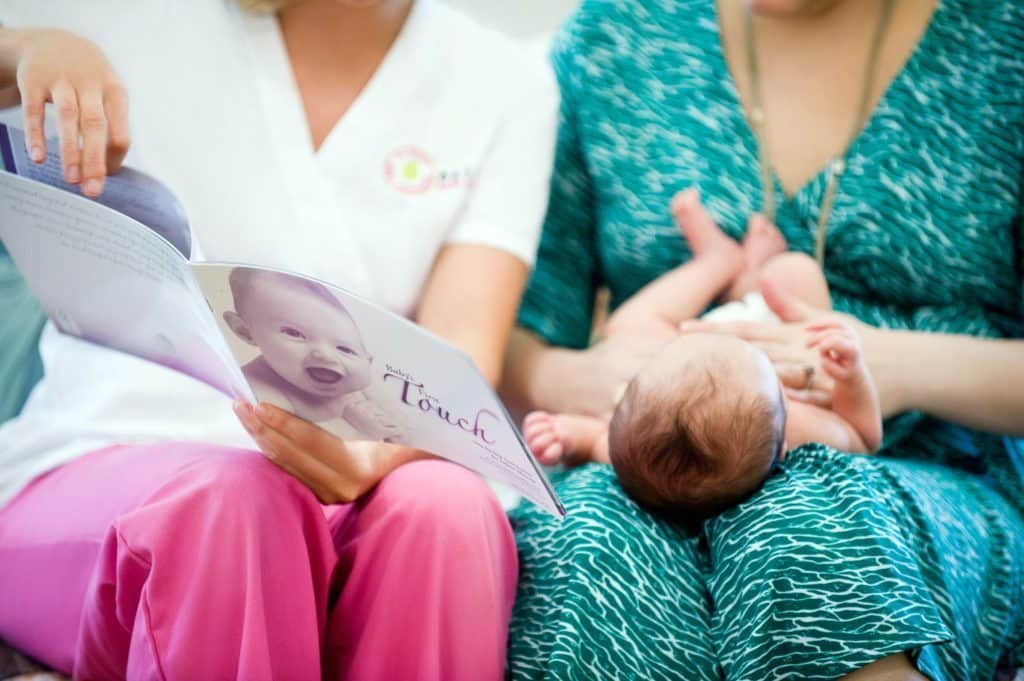
I hope you enjoy this massage routine with your baby and that your baby likes it, too! Again, for the whole routine, see the video below. Happy massaging!


