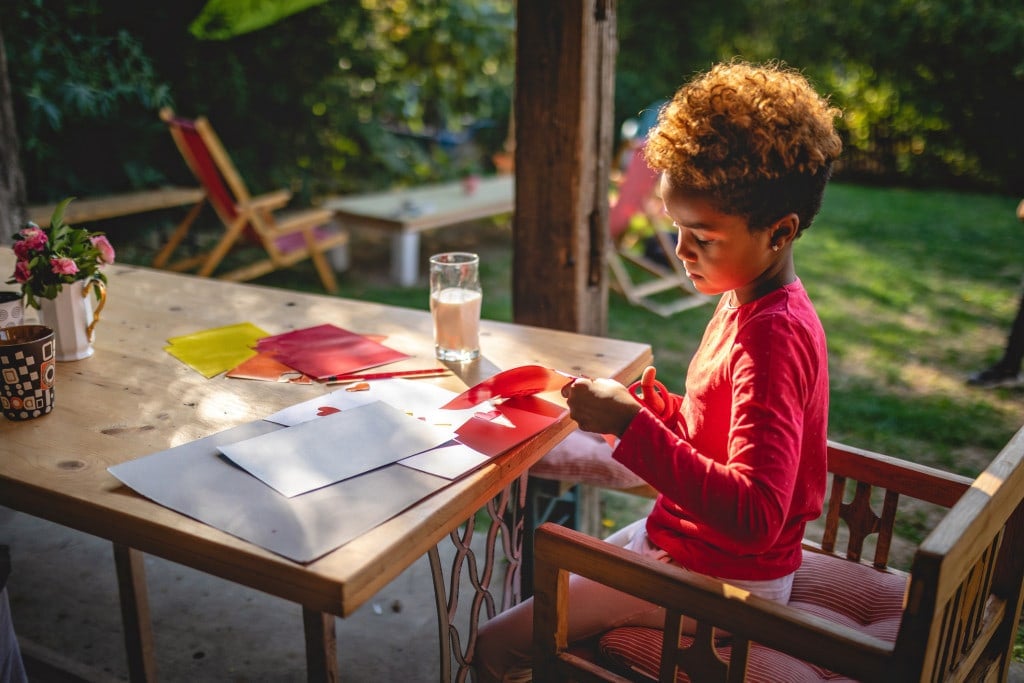
Spring is here and bringing all the crafty inspiration along with it! There are many lovely things about spring to base a craft on for your kids. To revel in the long sunny days ahead, here are some spring-themed suncatcher crafts!
The best thing about craft time is the many learning opportunities hidden in all the fun. Most notably, crafts will encourage a healthy imagination in kids, which is important to their development.1 Another developmental skill that can be honed during craft time is fine motor skills!
Springtime Crafts for Kids
Below are two options for making beautiful spring-themed dream catchers with your kids. Both will help them work on fine motor skills as well! They’ll enjoy their creations so much, and they won’t even realize their skill-building at the same time.
Tissue Paper Spring Suncatchers
To make these suncatchers using tissue paper, you’ll need:
- Tissue paper
- Construction paper
- Template of spring image (or you can draw it freehand)
- Clear contact paper
- Scissors
- Glue
- X-acto knife (for adult use only!)
Here are the steps to creating your suncatcher:
1. Rip the tissue paper up and hang up the contact paper.
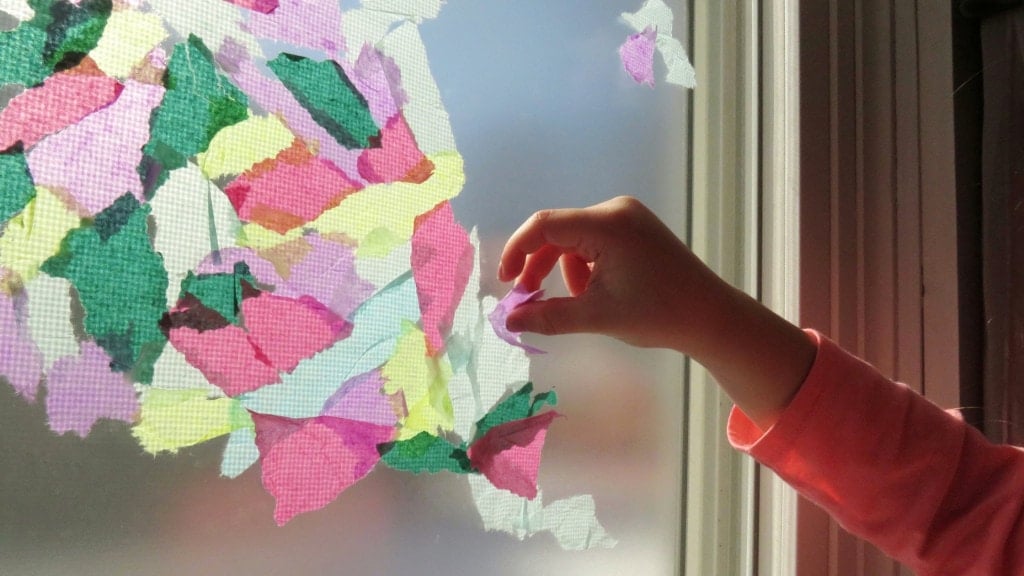
First, let your children rip up the tissue paper into small pieces. The smaller, the better for more fine motor work! The colors don’t matter, but lighter colors will allow sunlight through more clearly, so we stuck to mostly light colors.
While they are ripping the tissue paper, set the contact paper up. You can cut out individual squares for each suncatcher to put on the table, but I found it more fun to hang a large piece right on the window! That way, they can ooh and ahh at how pretty the tissue paper looks as they’re putting it up.
To hang the contact paper on the window, fold a sticky edge back towards the window at the top, then roll it down to the bottom with the sticky side facing out. Roll a line at the bottom to stick to the window as well. Once the kids are done ripping the tissue paper, they can start sticking pieces to the contact paper!
2. Get the templates ready.
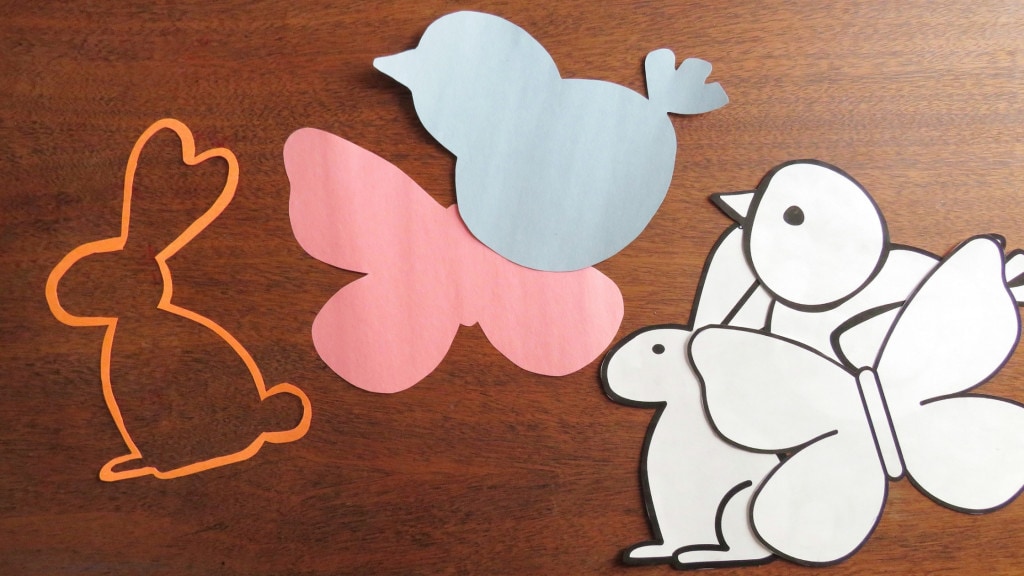
While the kiddos are busy with the tissue paper, now is the perfect time for you to set up the rest of it. First, print out templates or freehand some simple spring-themed pictures. We chose a bunny, a baby chick, and a butterfly for this one. Cut the template/drawing out, then trace it onto a piece of construction paper.
Using an X-acto knife or something similar, trace another outline about half an inch inside the picture. Once you’re done, you should have a thinner outline of the picture. This is what will be used as a border around the suncatchers.
3. Add the border and cut to size.
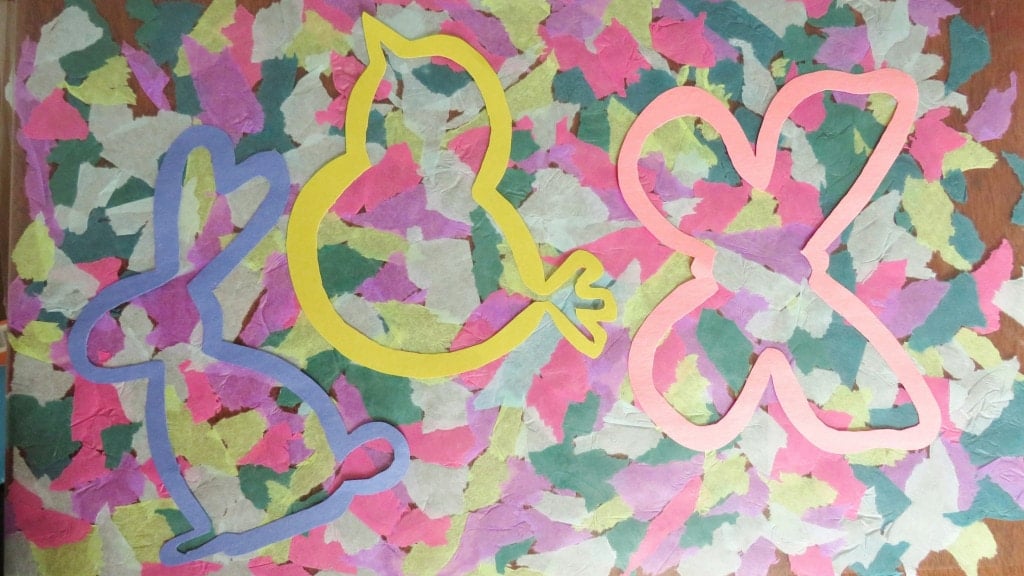
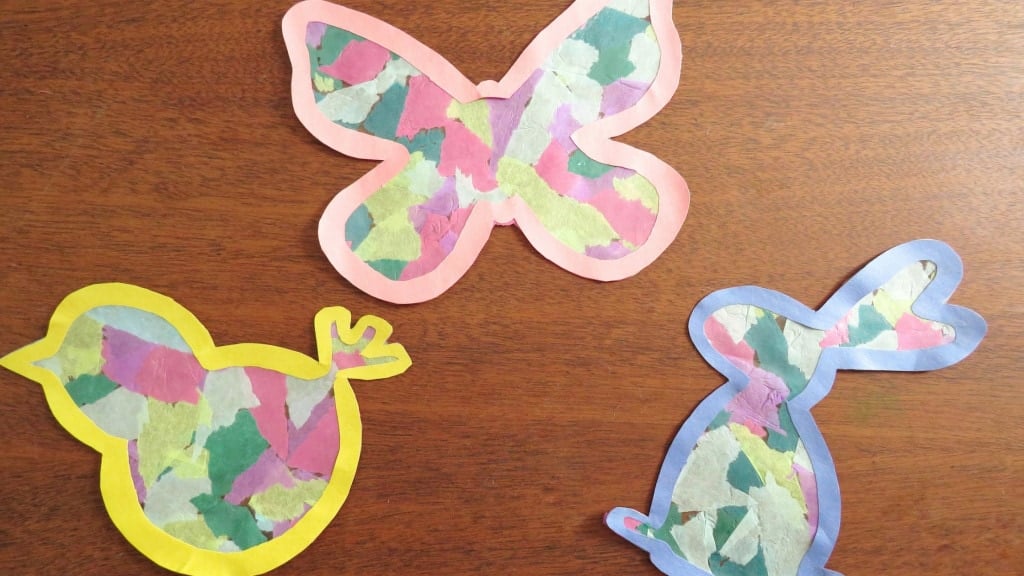
Once the templates and tissue paper are all done, take down the contact paper and glue the borders onto the non-sticky side of the contact paper. Once dry, cut the pictures out along the border. The suncatcher is complete!
4. Hang to display.
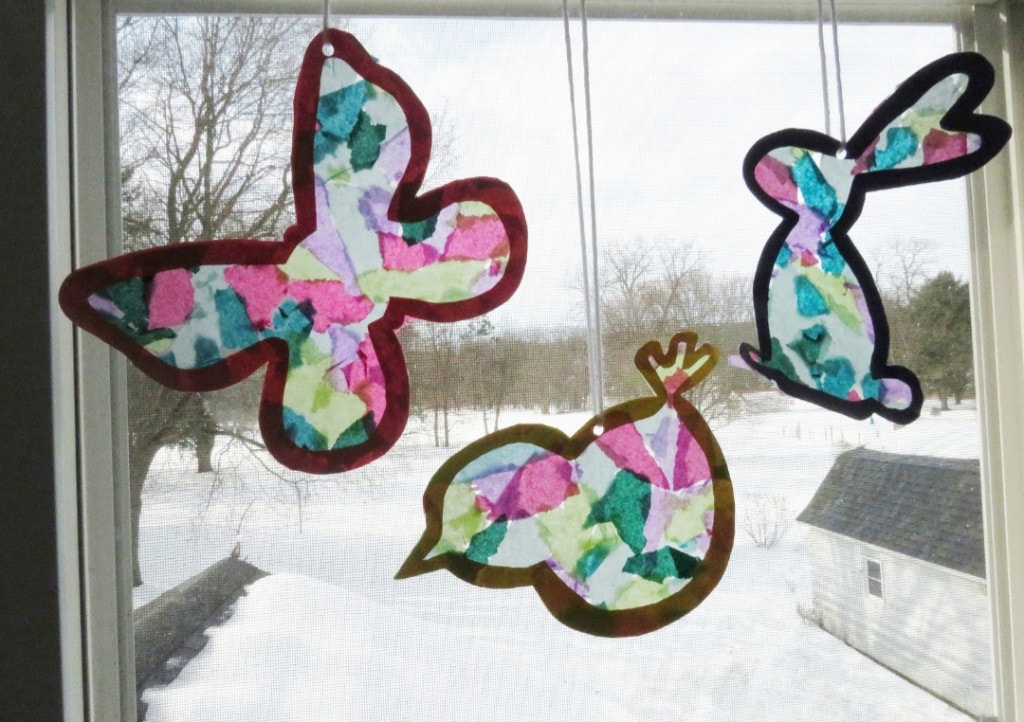
All that’s left is to hang the suncatchers up. Simply punch a hole at the top of your designs, tie a string through, and hang.
Melted Crayon Suncatchers
This one is SO cool! And a very simple material list; here’s what you need:
- Wax paper
- Broken crayons
- Spring picture template
- Towel
- Scissors
- Iron
That’s it! Here are the steps to making this tye-dye-looking suncatcher:
1. Print out templates.
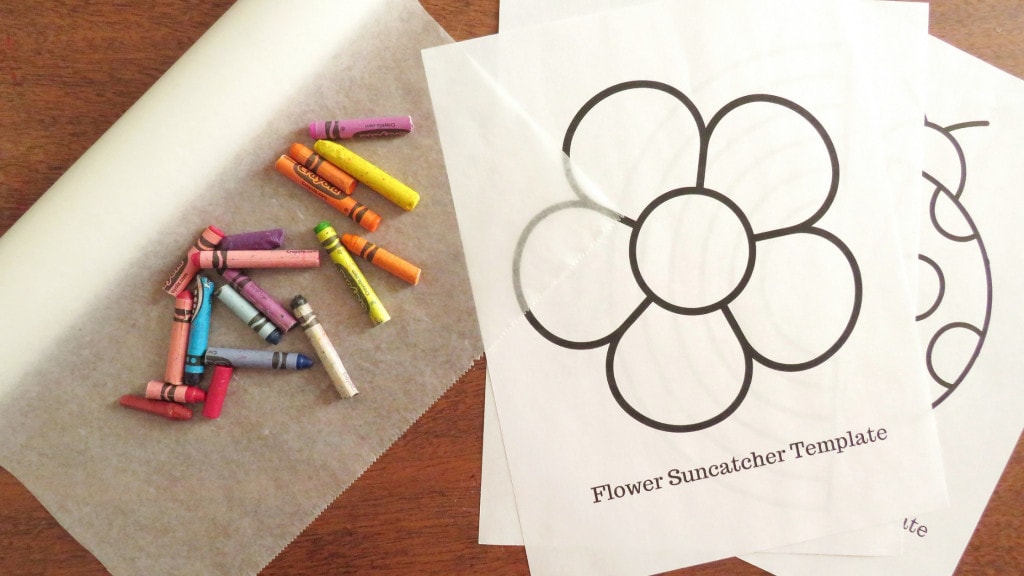
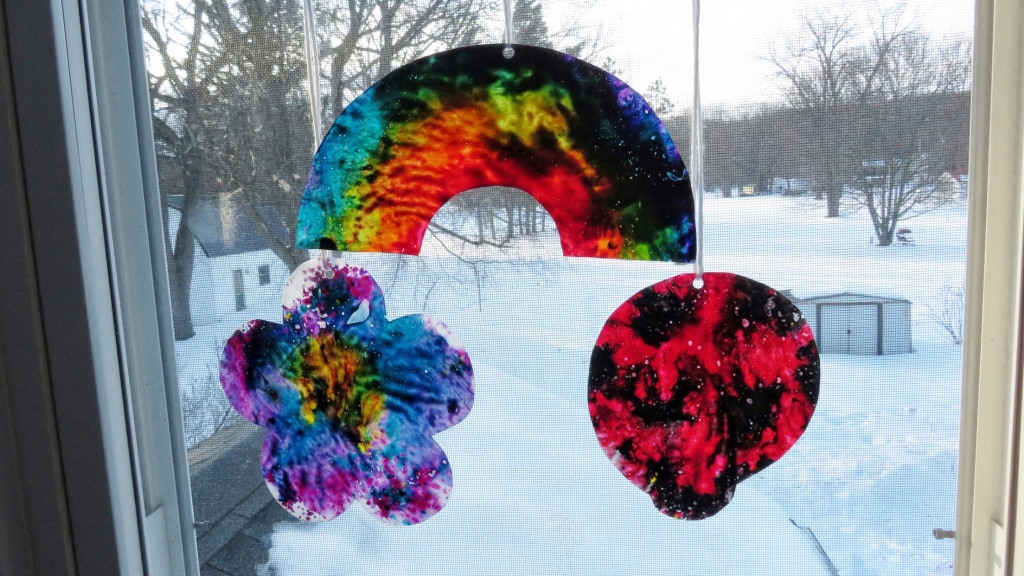
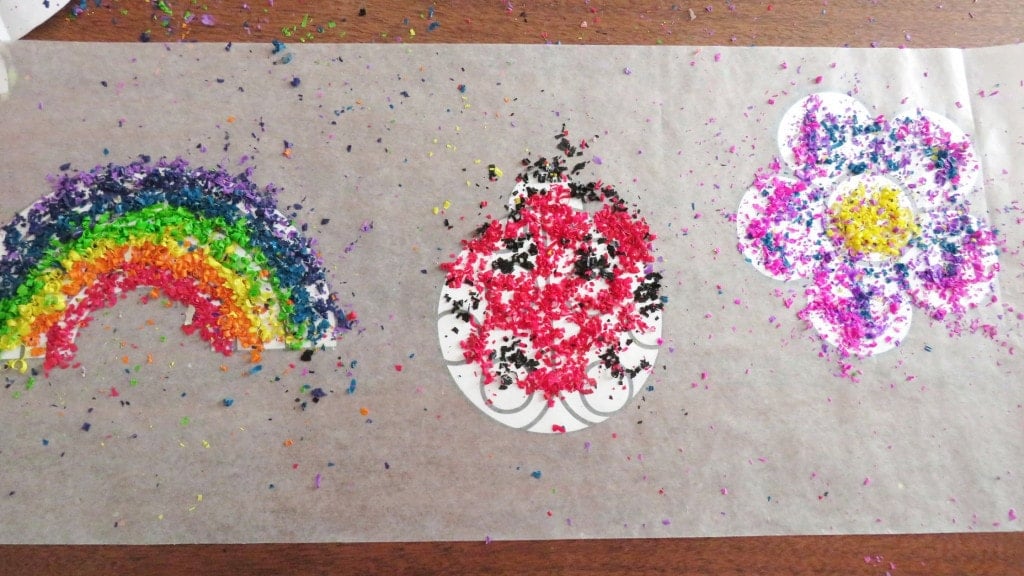
This one uses the templates more as a guide to follow rather than tracing or bordering. I like using this method when colors belong in certain places for an image, whereas the tissue paper is more random. Although, this one can be random as well! We made a rainbow, ladybug, and flower for the melted crayon suncatchers.
2. Lay out the wax paper.
Wax paper is needed to work with the crayons. I laid out the wax paper above the templates to easily be seen to follow. No tracing is required!
3. Shave the broken crayons.
This suncatcher requires more effort on the adult’s part, but the end result is worth it! For this step, shave crayon bits off the colors needed for the pictures. Since we had a rainbow, we needed every color! Thankfully, we had a lot of broken crayons, too.
As you shave the colors, try to keep the piles separated if you plan to color the pictures the way they were intended. Even if your kids are going to be more random with the color spread, I still recommend separating them. Colors can blend very easily with this method and quickly become a brown smudge!
4. Place the shavings onto the wax paper.
Following the templates underneath, let your kids add shavings to the wax paper. This is another great activity for fine motor skills as they pick up the small shavings and carefully place them in their spots. Make sure they shake their hands off after to avoid crayon shavings ending up outside of the craft area!
5. Melt the crayons and display them!
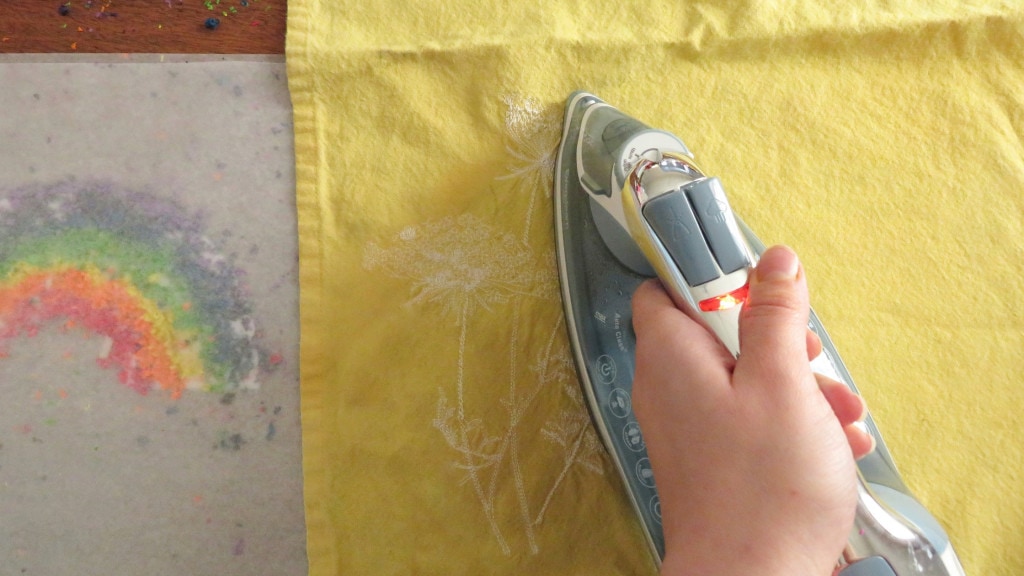
After their colors are all in place, put a towel over the wax paper and heat thoroughly with an iron. The iron would stick to the wax paper, so the towel is very important! Keep an eye on the designs as you heat them— as mentioned before, the color blending can get out of control quickly.
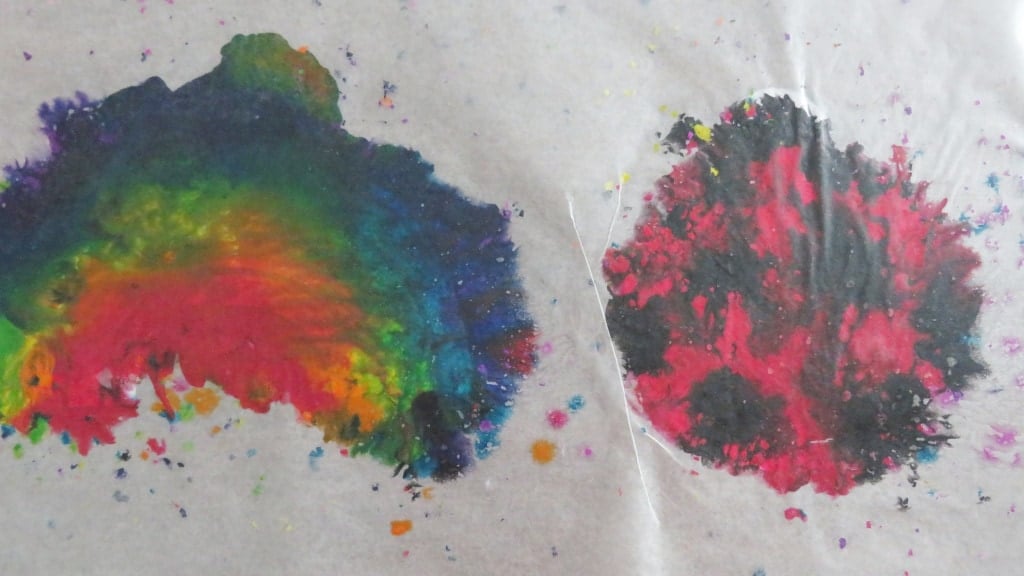
Once your pictures are totally blended, give them a minute to cool off, and that’s about it! Use the template again to lightly outline the image on top of the wax paper so you know where to cut it out. After they are cut out, punch a hole at the top, tie a string through the hole, and hang! These beauties are mesmerizing in the sun.
Suncatchers are a fun and easy craft to do with your kids and the perfect activity to welcome spring! Your kids will have a blast making them and will love having something beautiful to admire whenever they look out the windows.